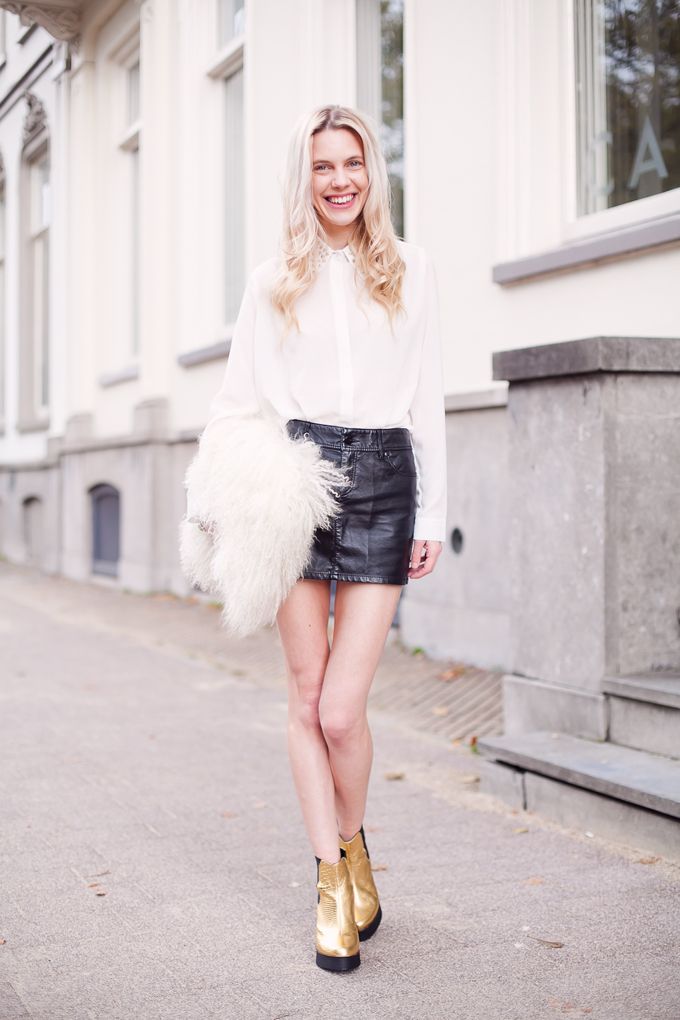
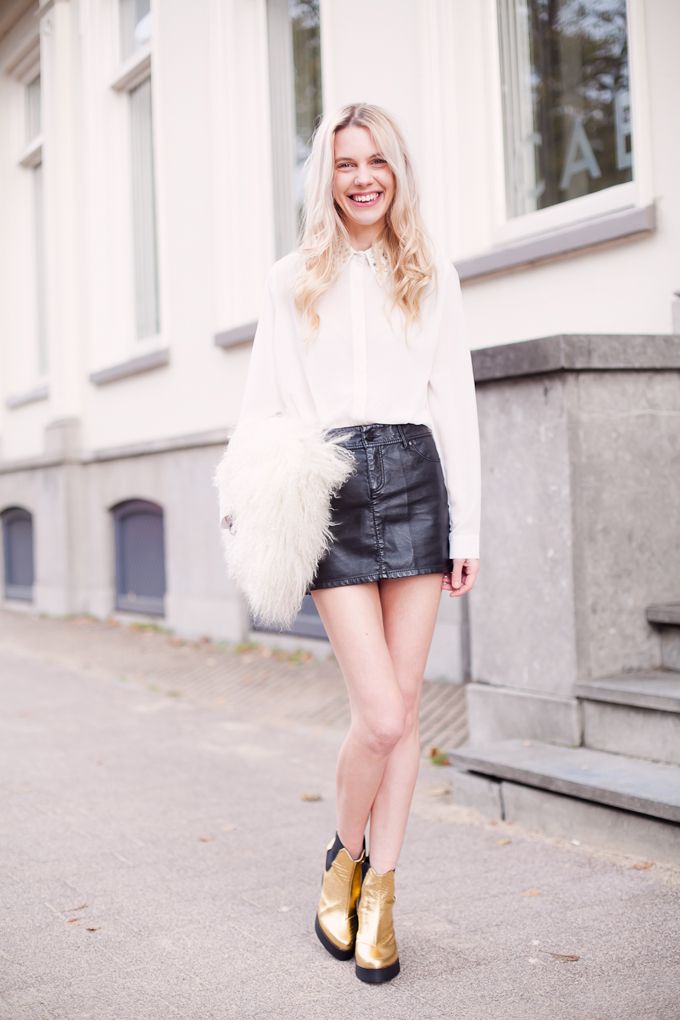
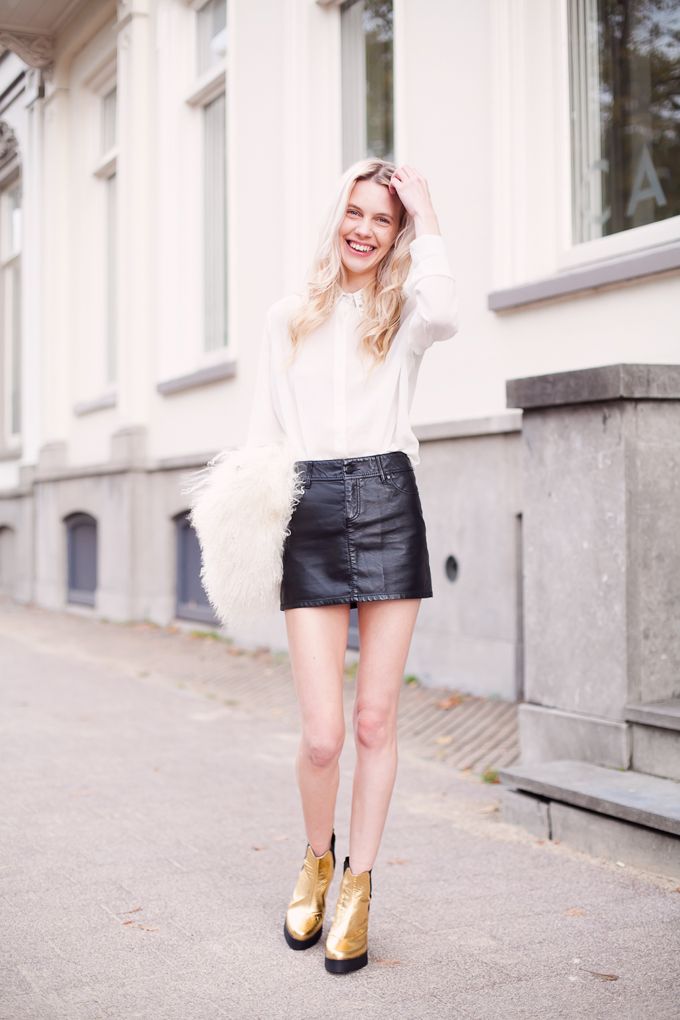
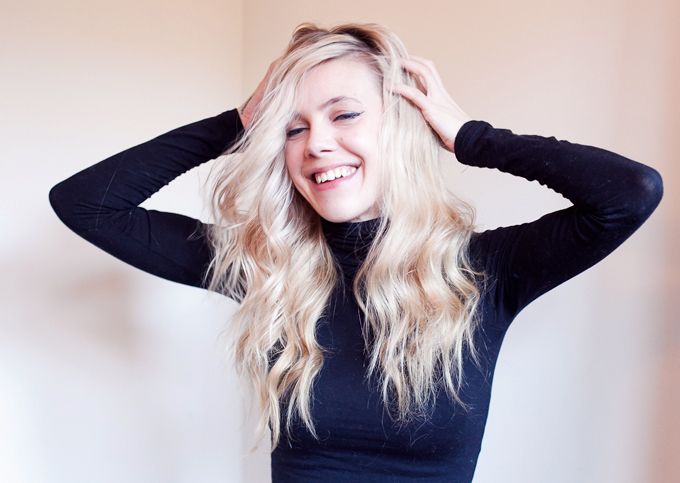
 So Many have asked me for a Hair Tutorial of my Big Curls so here I go! The team behind Toni&Guy have send me an arsenal of new products to fine tune my look even more (meaning more volume and a healthier Shine without a hair-sprayed look)What you absolutely need for this Tutorial: Mouse, Toni&Guy Sculpting Powder, Curl Iron, Hair Spray, All other Products are a big plus to fight frizz and give you that Glamorous Shine!

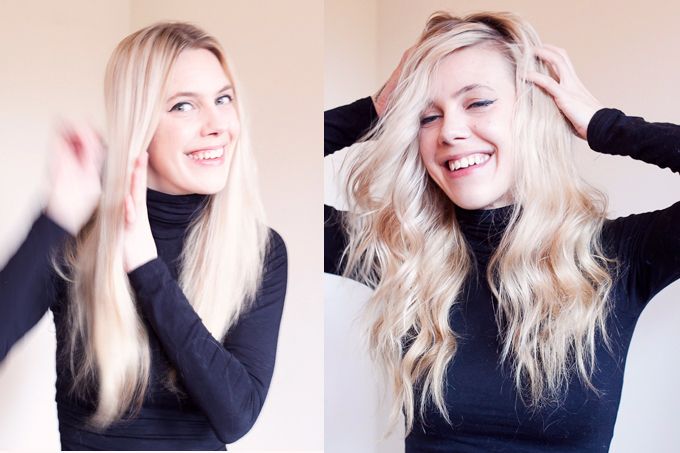
before and after
1) Prep Your Hair
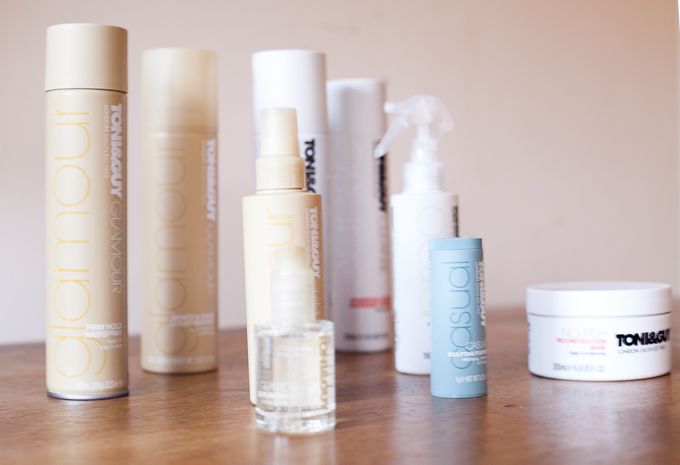 All my Toni&Guy goodies!
2) Sculpting / Volume Powder
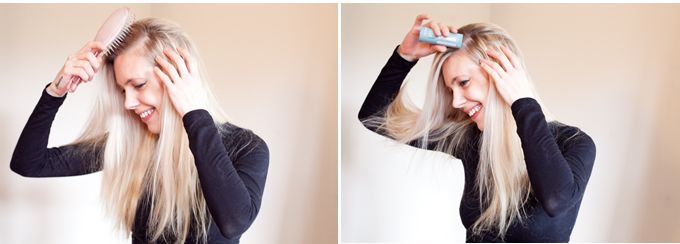
My absolute favorite Hair product in the world! I have been writing about it before and absolutely key to this tutorial since I'm really against teasing my hair! Toni&Guy Sculpting Powder comes in a small blue tube and combats grease and creates Volume and Shape! I dust the powder directly at the roots and work it through with my fingers (I kind of massage the dusted root area so to speak) 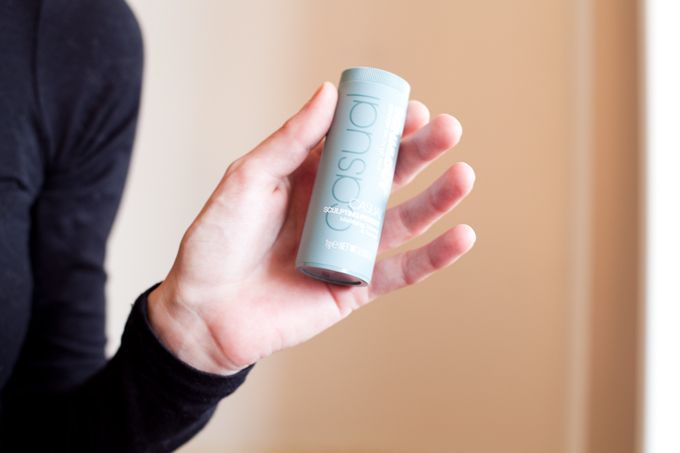 I first part my hair in a crown section and 2 front sections. (think a Bouffant or Brigitte Bardot)Instead of teasing the hair at the crown as done in a Bouffant I use the Sculpting Powder to dust a layer at the roots (work in a horizontal strip!) then I part the hair half way (between the Crown and to where I hold the hair) and dust another strip! I also dust at the foremost section of where my "bouffant" starts! Last I gently flip my hair back using a brush or fingers.
(Seriously, don't worry about messing this part up! Just think "Brigitte Bardot" and apply the powder at the roots where you would otherwise tease your hair!)
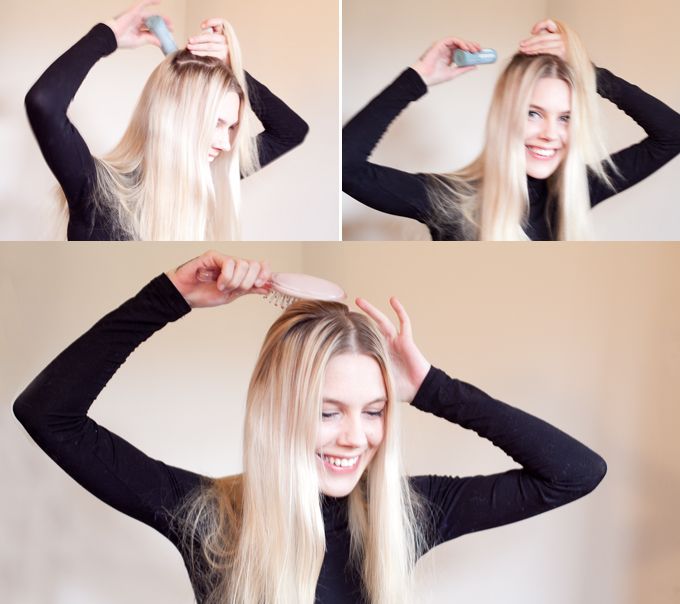 I now start to dust the front left and right parts/sections of my hair with the Sculpting Powder! I first dust the roots in the middle section (work vertical, from the front to the back) and then I dust the roots in 2 (or 3) sections on either side! I part my hair with my fingers or using a comb or brush, don't worry about making neat side-sections, I do it very sloppy myself!
(Again! Seriously, don't worry about messing this part up! Just think "Brigitte Bardot" and apply the powder at the roots where you would otherwise tease your hair!)
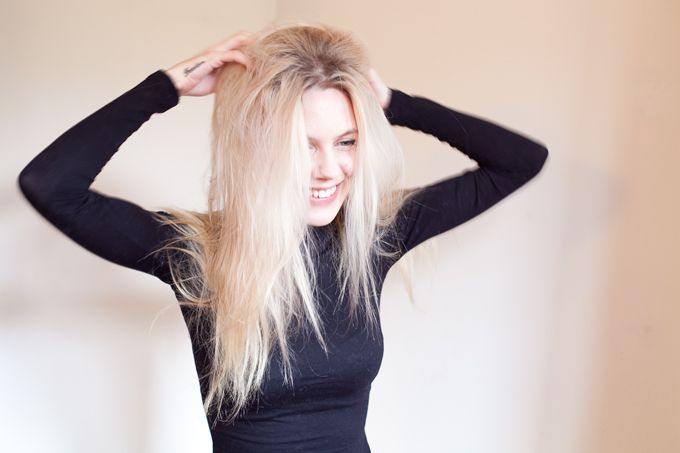
 Now the Fun Part! gently Scruntch/ Massage the roots of your hair where you applied the powder, you should get a full blown Brigitte Bardot look! Without Teasing!
See, Brigitte Bardot ;)
3) Curl your Hair
Gently brush or comb your hair but don't comb or brush your roots through (where you dusted the Sculpting Powder) also don't worry about the volume, you will scrunch it back later!
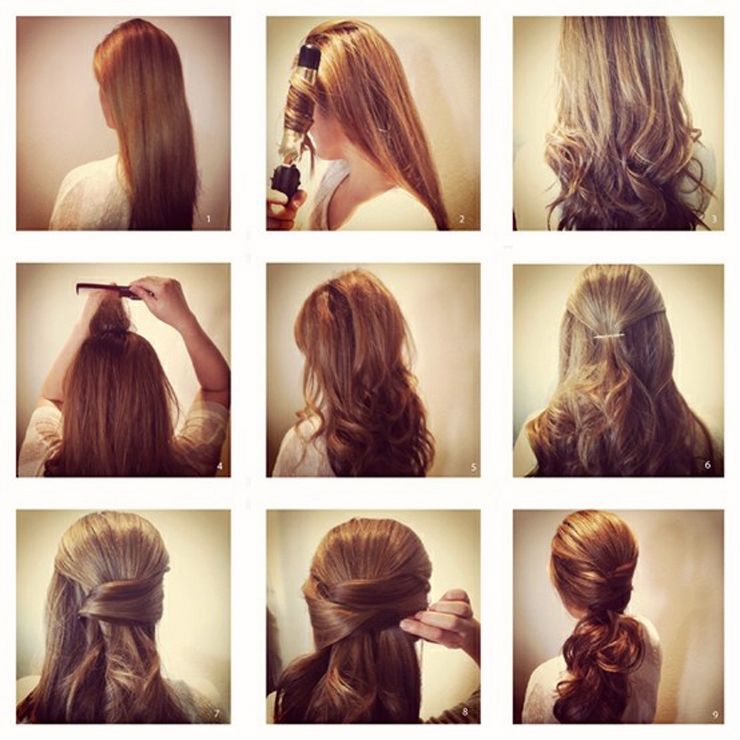
Pin the front sections of your hair to the side or up since we are going to curl them last, also before curling prep your hair with a heat protector! I used the Toni&Guy Heat Protection Mist!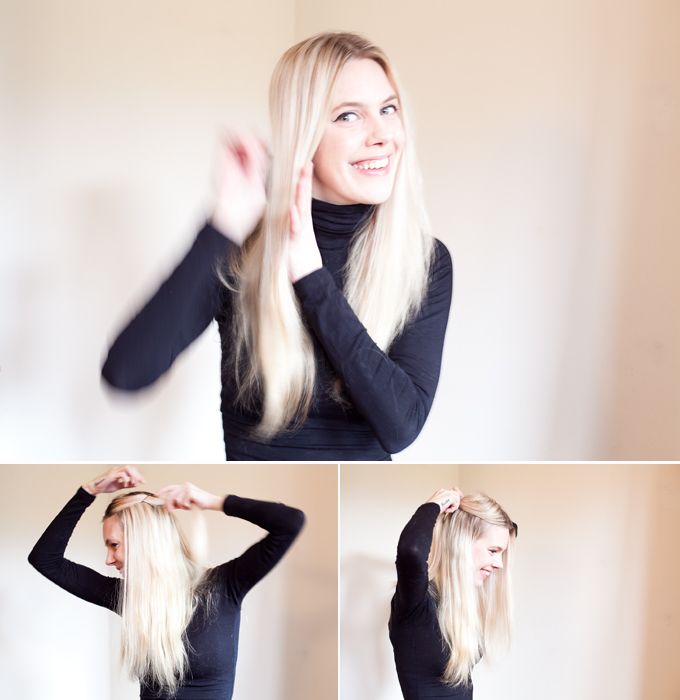 Start curling, it doesn't matter if you start curling on the right or left side of your hair as long as curl going outward! (see close-up pic) I also keep my tips/ hair ends outside of the clamp, I don't curl them since the hair ends would damage quickly because of the heat!
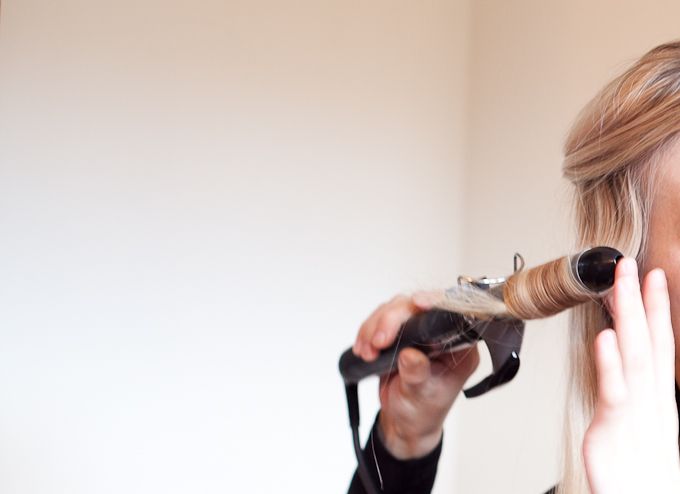 After curling the locks you can use Hair Spray on each individual lock or Spray the locks all together as you please! But you have to use Hair Spray to set the curls! I used Toni&Guy Firm Hold Hairspray. Now we start to curl the front locks that were pinned to the sides, after curling these I spray all the locks again!
 4) Brush-Out the Curls
Let the hair spray set just a little bit, make sure it's dry.We will now start Brushing out the curls! After Brushing I use Hair Spray in between and on the curls while I hold my hair up, this gives me loads of volume! Kind of setting the big fly-away fluffed up Curls!
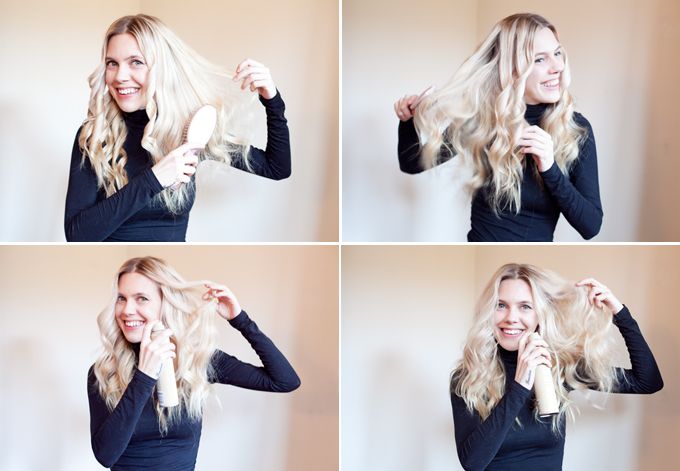
5) The Side-Bang and Finishing Touch
I guess you could have made the side part before but I kind of like doing it last since I want to get it perfect while having that spontaneous fly-away feel! I basically just flip a random side part over the either left or right side (whatever looks best on your face), this way I can really control how these locks will fall plus if really necessary I curl the side-lock-bang again (totally cheating, I know) When the side bang looks the way I like I use Hair Spray to set it although I don't really spray at my roots to keep that soft natural look and feel!I massage the hair roots again for our Brigitte Bardot volume and use very very sparingly the Moisturising Shine Spray to areas where the fluffed up curls turned matte and scrunch them up again. I never ever use the Shine (Gloss) Spray near the top/roots since the Shine/Gloss tends to weigh down your hair! After glossing I use hair spray again!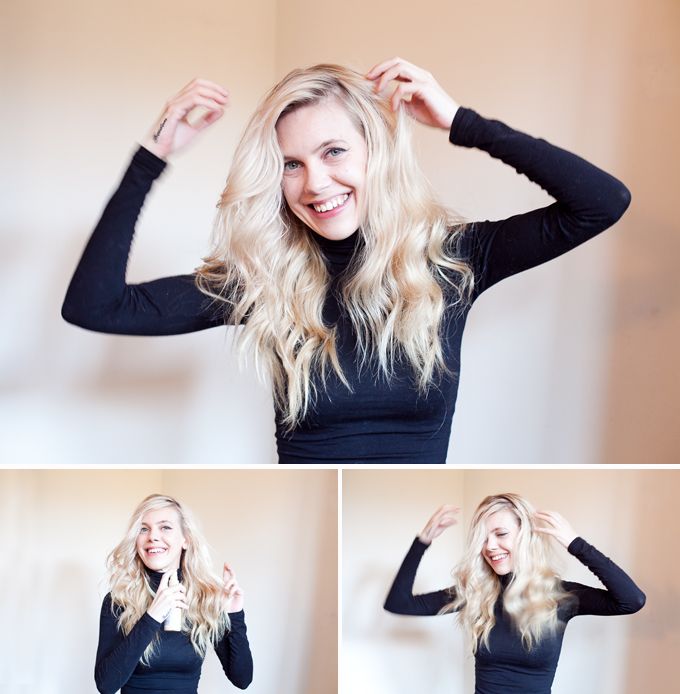
6) Finito!
Et Voila! Big Beautiful healthy looking hair with volume at the roots! You can scruntch/massage the roots of your hair during the day to re-vamp that volume!You can find out more about all the Toni&Guy products here! FOLLOW COCOROSA ON BLOGLOVIN' FACEBOOK AND TWITTER