
Showing posts with label DIY tights. Show all posts

Tuesday, 4 December 2012

DIY Baroque Tights Tutorial

PhotobucketPhotobucket
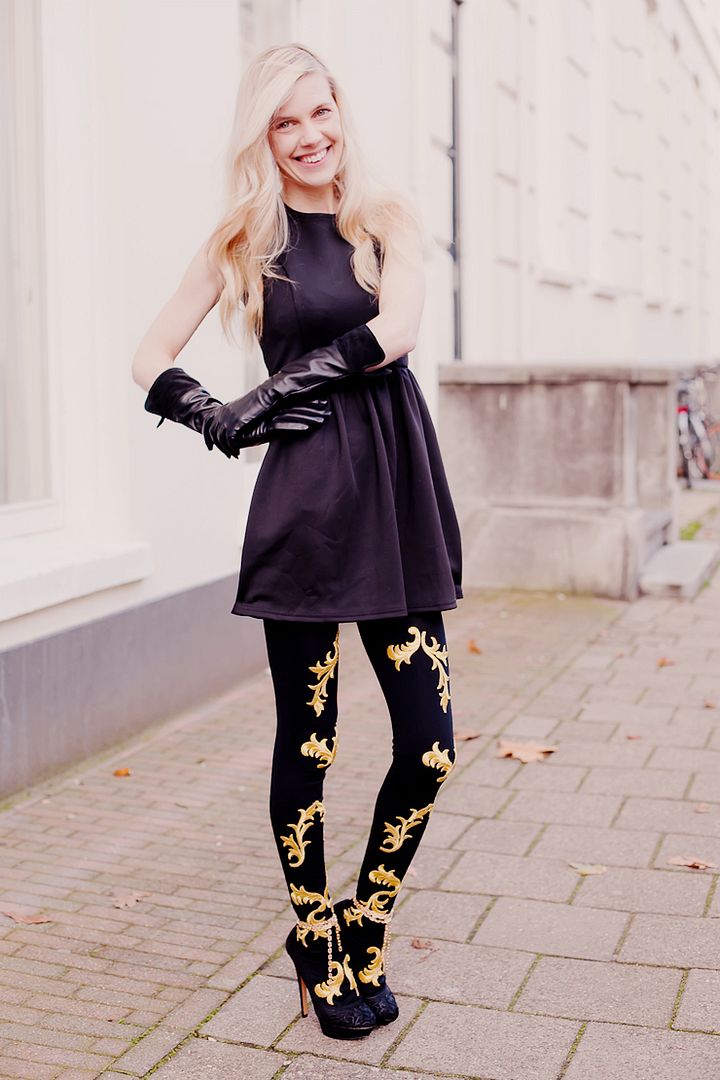
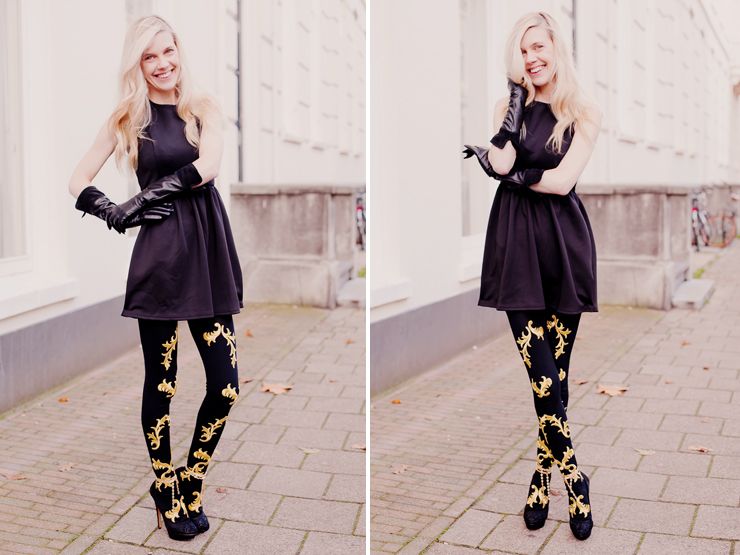
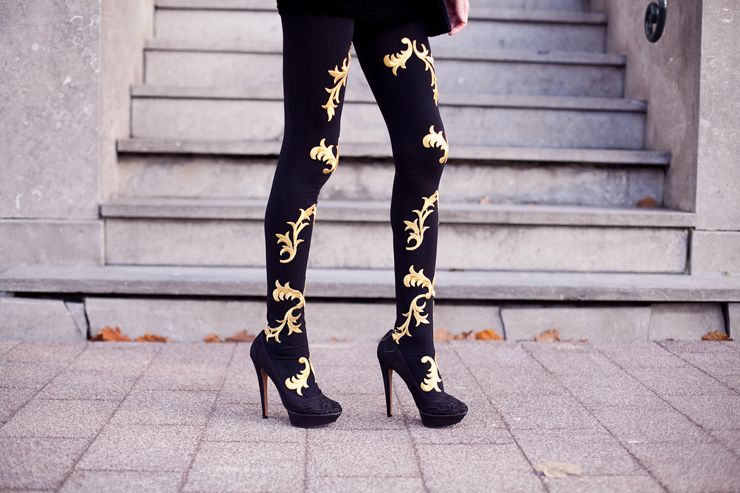
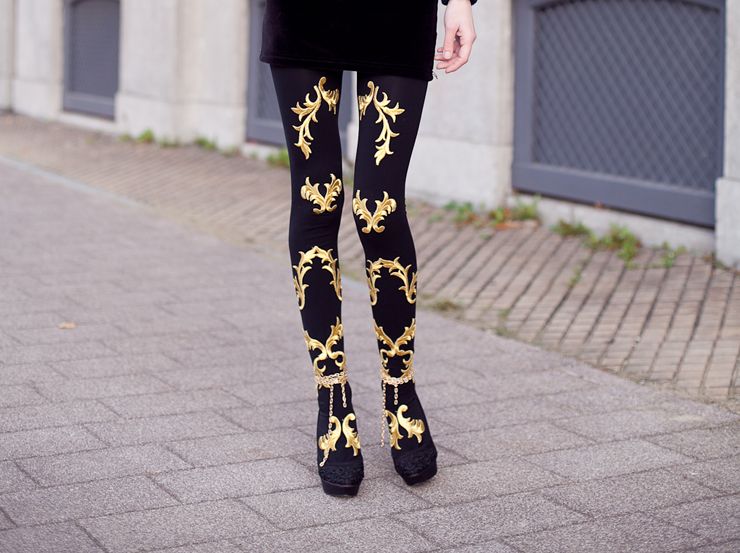
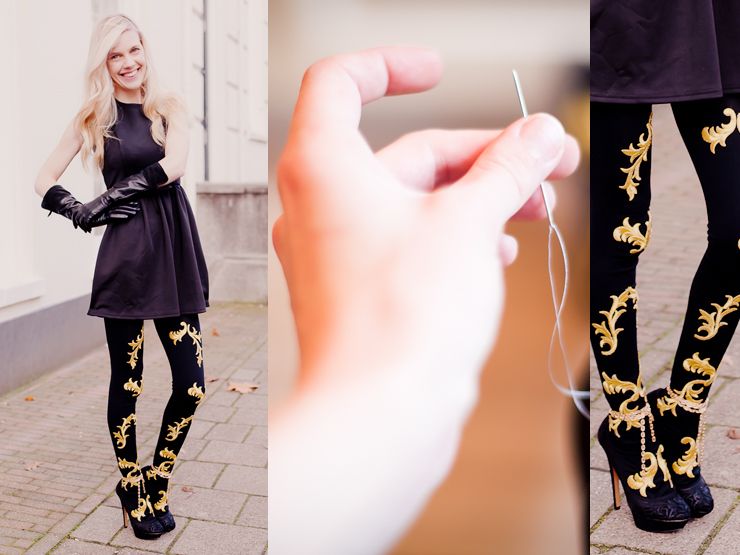
photo's me and D&G fall winter 2012/2013

As Promised! The Tutorial for the DIY Baroque Tights! 
Hope you like it!
xoxo

You can totally apply this DIY to other items as well!


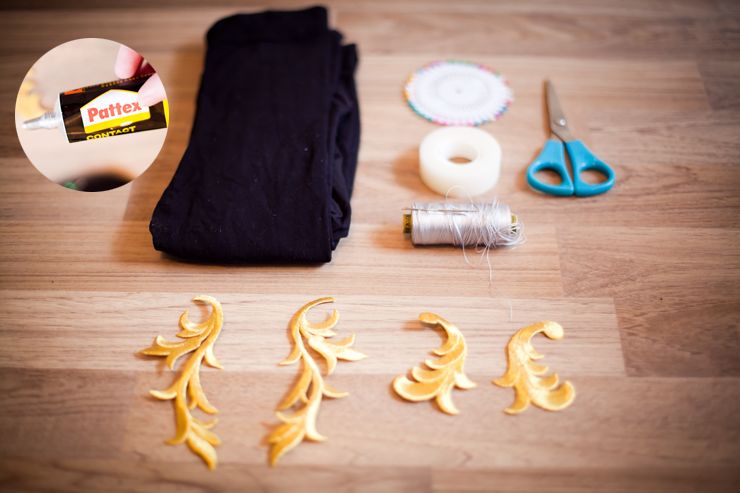
1) What You Need

1) Tights, I used H&M tights of about 60 denier!
2) Needle, Thread (metallic Thread, Gold or gold colored is preferred), pins, scissors, scotch tape
3) Baroque (cornelli) Motifs, these are mostly Iron-On's although sewing is better for a more beautiful look.

I used 2 kinds of Cornelli Motifs from Barnett Lawson Trimmings in London, both Gold colored, online here and here.

* If preferred, instead of sewing you would need an Iron or Glue (Pattex Glue or Fabric Glue only when making the Motifs yourself since the Cornelli Motifs are Iron On and thus the glue side is platic-like instead of fabric!) You can make Motifs yourself by Spray Painting (gold) felt fabric.

Photobucket


2) Placement Practice

Before we even begin it's very important you understand how the Baroque Motifs and Prints work! 
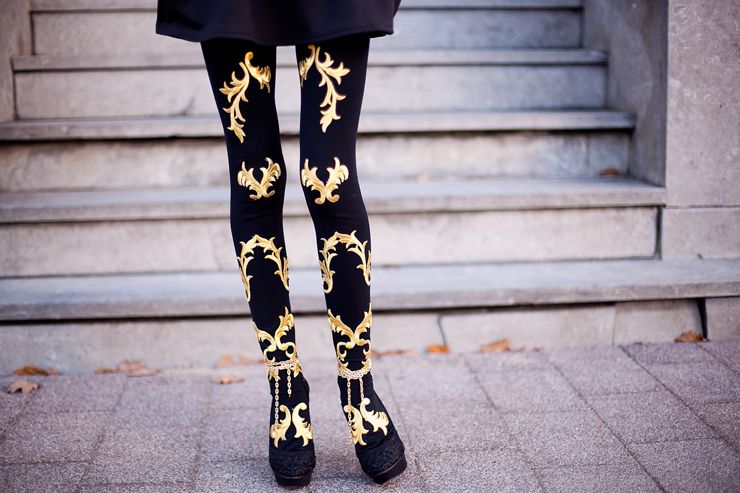
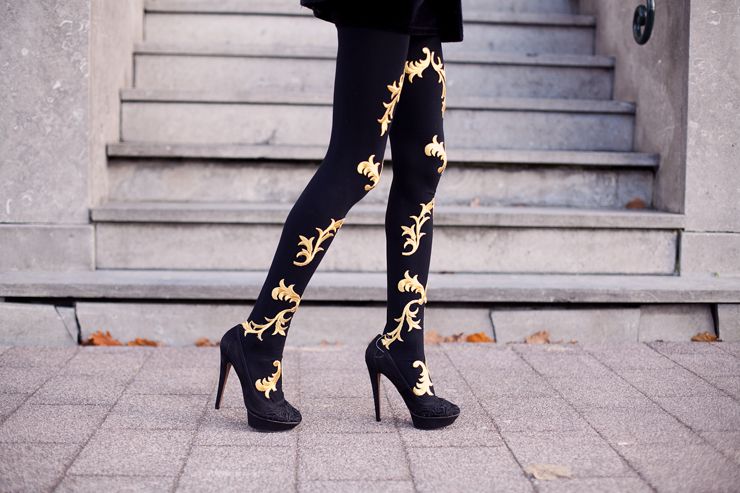
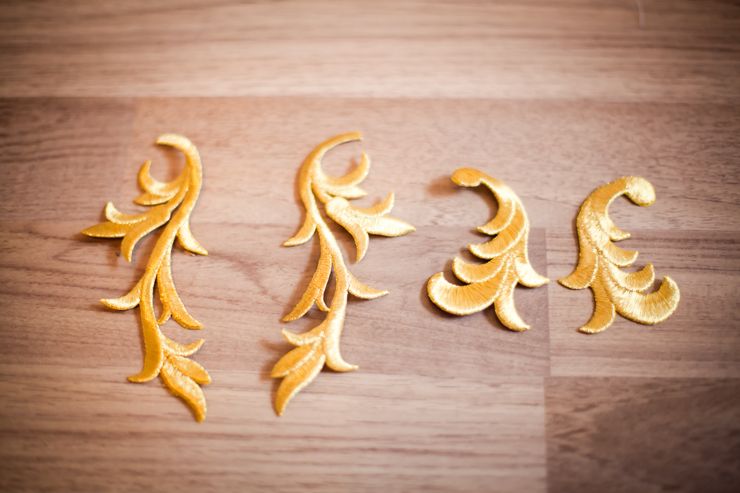
Look closely at my finished tights and to the D&G collection and you will see the placement is symmetric, kind of mirror reflecting! The Cornelli Trimmings I bought (seen below) at Barnett Lawson come in a set so if you decide to make your own trimmings make sure you have a left and right version as well!
Photobucket


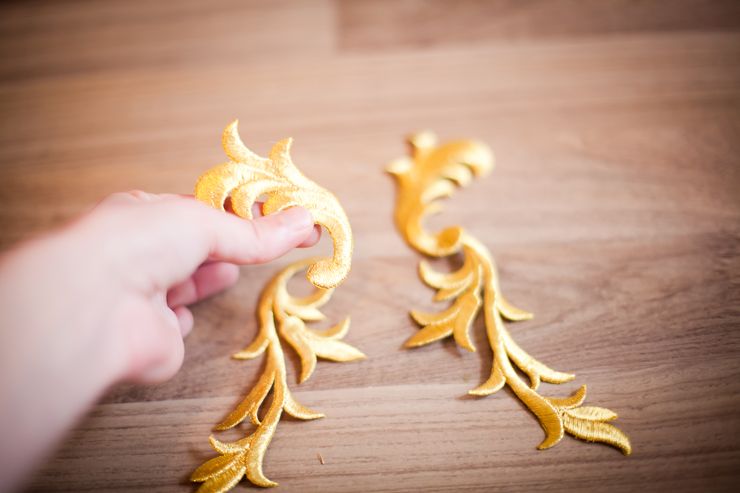
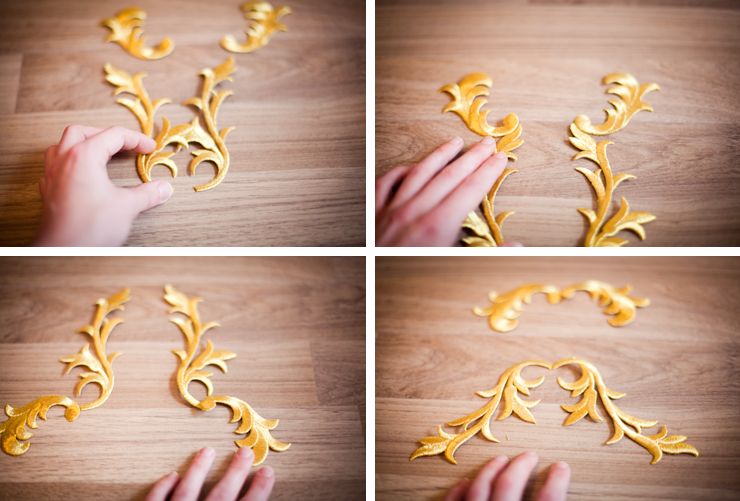
Now start playing a bit with all the possible Motifs/Prints you can make to get a good feel of the trend and don't be afraid to look at existing prints! Make sure you work in a symmetrical way, always mirror reflecting the left and right side!
Photobucket

Photobucket


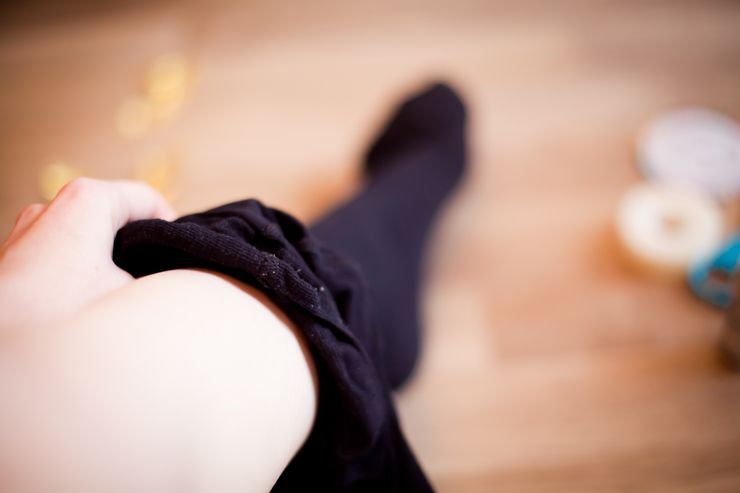
3) Wear the Tights

Ready with the Practice? Wear the tights or if you prefer this DIY on a Tee or Skirt, wear those items so we can have a look of where exactly we want to place the Motifs!
Photobucket


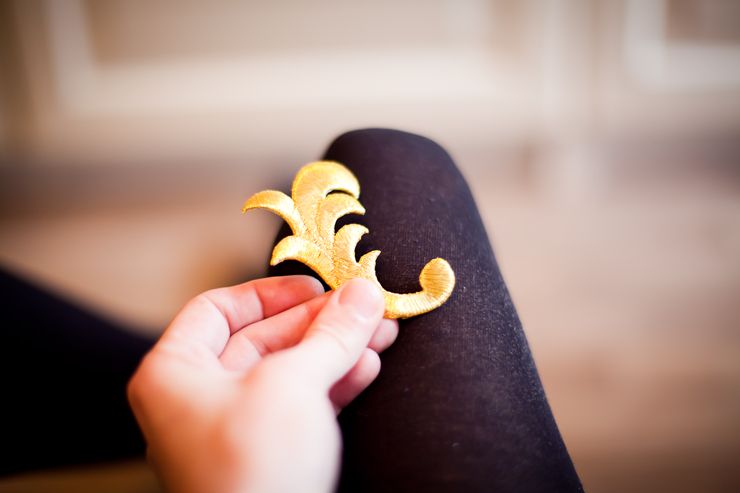
4) Placement

Stay very close to a mirror so you can see what you do! Place the Motifs on the tights how you like it, play a bit with the placements you have practiced and work symmetrical!
Photobucket


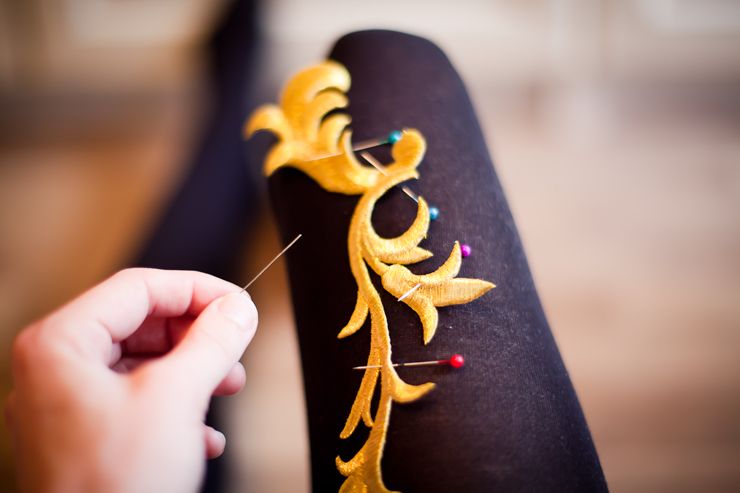
5) Pinning

Loosely Pin the Motifs the way you like it! I worked on 1 leg first ( my Right Leg) since I will mirror reflect the Motifs later on on the other leg! Keep looking in the mirror to make sure everything looks good and change things while you still can! I like to do this while I wear the tights since its the best way to see how the outcome will be! I guess with T-Shirts or Skirts you can work on the items while not wearing them.
Photobucket


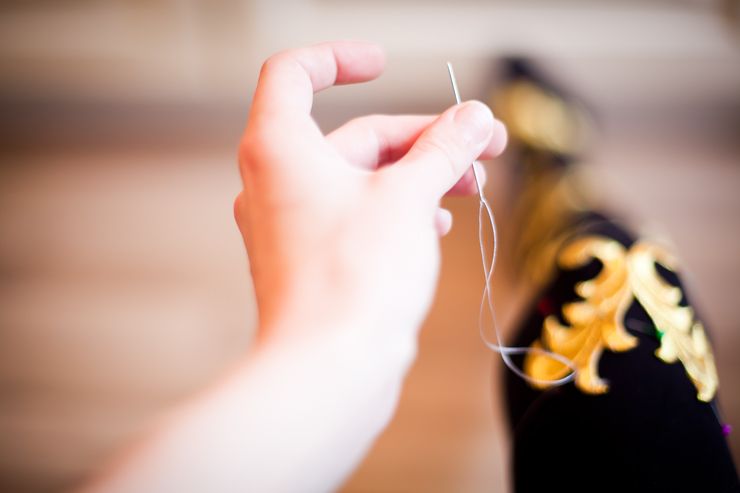
6) Attaching the Motifs

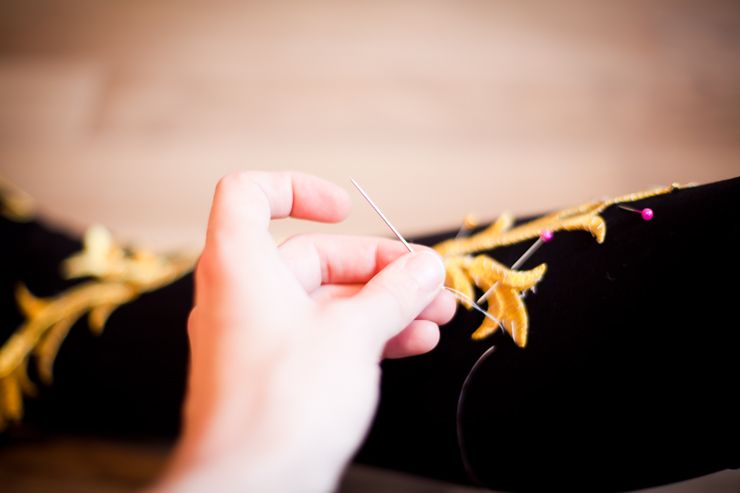
Although the Motifs are Iron On I really prefer sewing for a more beautiful look but it's really up to you what you want to do! I think Ironing will be as painstaking as sewing and glueing will prob be a hazard too since you would have to be careful not glue the front and back legs to one another ;)

I worked on 1 leg, my right leg, completely finishing one leg first before I reflect the same on the other leg!
Photobucket
Photobucket
 
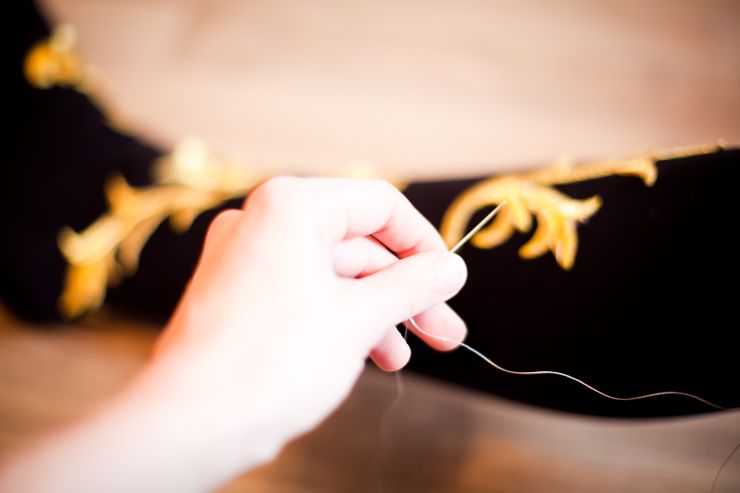
7) Repeat the Process on the other Leg!

All done with one leg? and still alive? Repeat the entire process on the other leg by looking in the mirror when placing and pinning the Motifs for a perfect mirror reflected look (symmetry example here)!
Photobucket


8) Your Ready!!

jayyyyy
xoxo

Photobucket Photobucket

FOLLOW COCOROSA ON BLOGLOVIN' FACEBOOK AND TWITTER

Friday, 30 November 2012

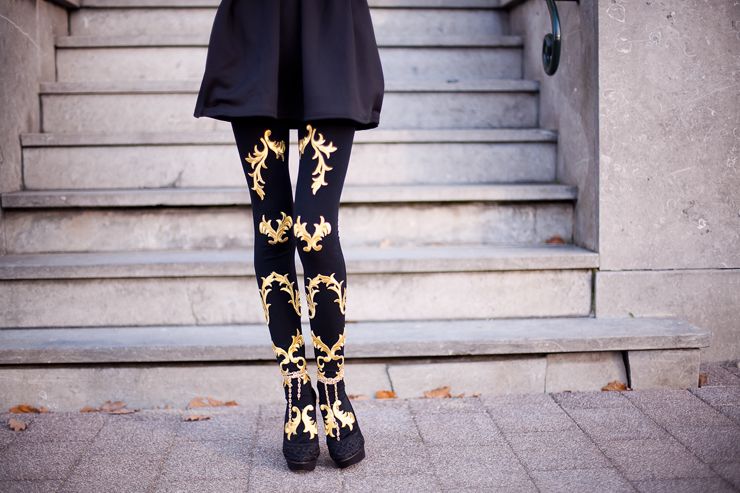
DIY Baroque Tights

Photobucket


It has been very long since my last DIY Tights... now I remember why... bleeding fingers hahaha
But anyway, so this is what I have been doing the past week, my apartment looks like a DIY factory (yes, I made more diy'sssssss and I'm really short of calling them Die's haha) The tights took me a painstaking 16 hours to make mainly because I really wanted to make sure the tights would survive the laundry (like a 100 times) and it took me a while before I figured out the best way to work with the Baroque and Brocade trend on the tights and on other items (Placement, Prints and patterns) but I figured it out and the Tutorials are on the way!! I really hope you like them, it would be the best motivation ever to make more and don't worry, the tutorials offer serious alternatives to 16 hours of work ;)

xoxo

CLICK HERE for the TUTORIAL

Photobucket Photobucket Photobucket Photobucket Photobucket

FOLLOW COCOROSA ON BLOGLOVIN' FACEBOOK AND TWITTER
Friday, 8 April 2011

DIY tights


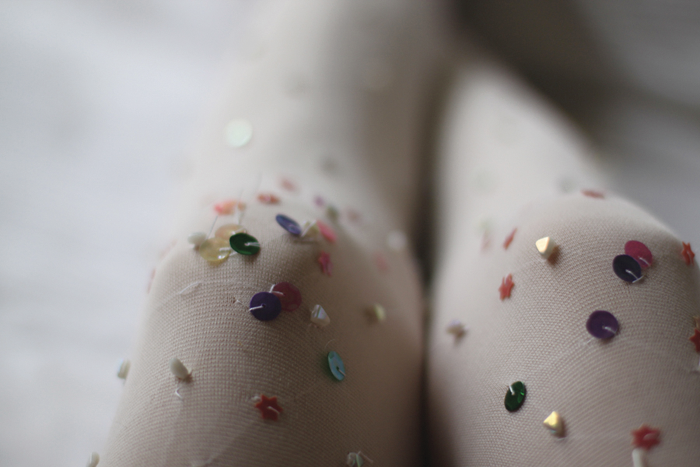
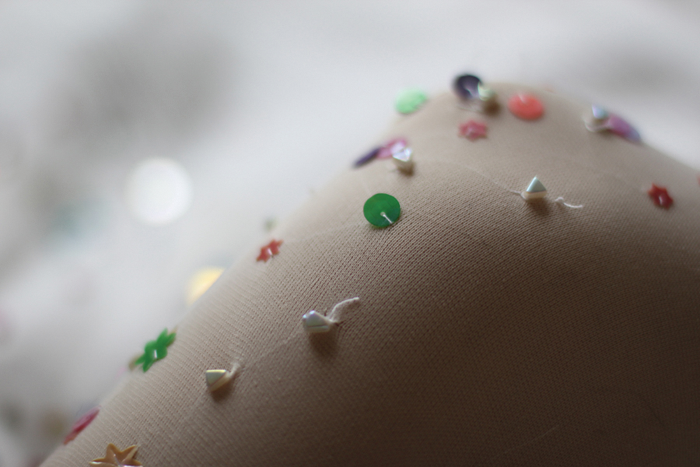
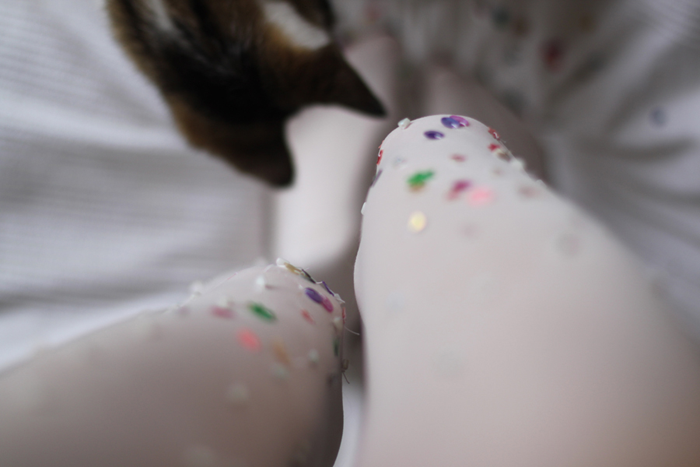
DIY Sprinkles tights, Nova the Cat

Made some new do it yourself tights
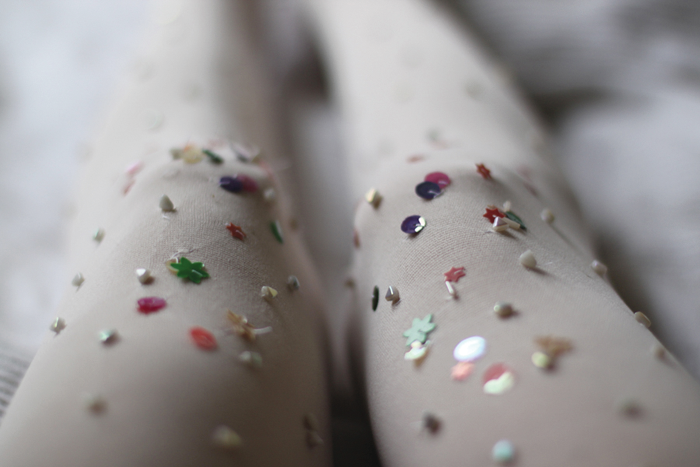
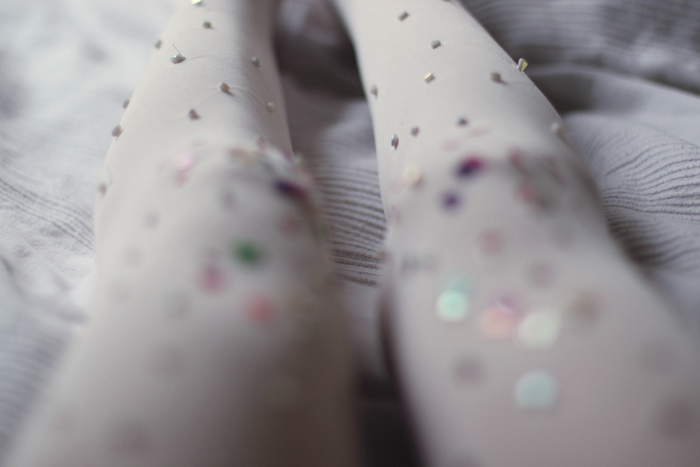
, Sprinkles/Confetti inspired

I kept the finishing raw to tone down the sweetness a bit, I wanted a a festive, Alice in Wonderland feel and kept the sparkle burst only around the knees, (Oh, totally celebrating childhood scraped knees)

(Nova had to crash the photos again)

xoxo


Follow cocorosa

Thursday, 8 October 2009

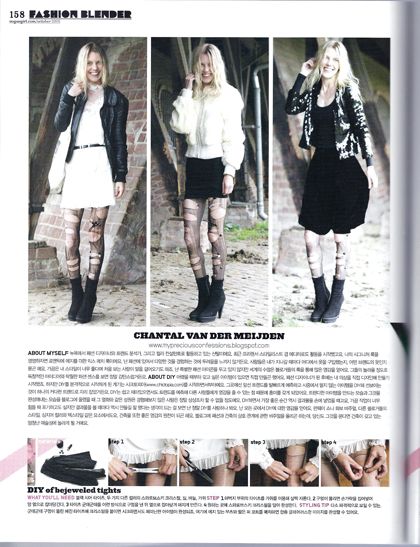
Vogue Girl Korea DIY or Die + DIY tutorial


DIY tights,
I'm so exited about my "DIY or Die" feature in October's Vogue Girl Korea!!, together with bloggers park and cube, anywho, 4thandbleeker,
Kingdomofstyle, and Lovemaegan and their amazing DIY's!

muchos thanksos Vogue Girl Korea!! :)


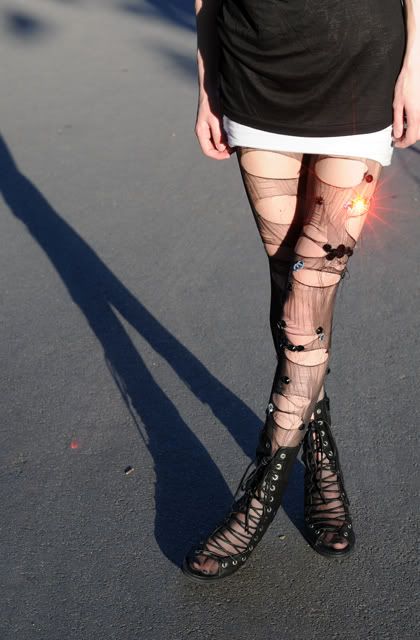
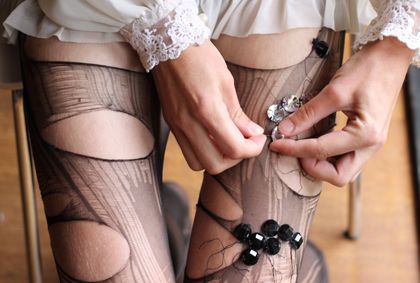
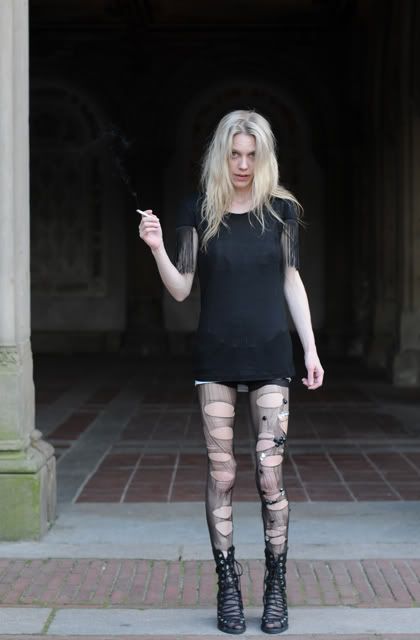
My diy featured in the magazine is the diy bejeweled tights, posted long ago here and photographed by Maya, back then I never posted the tutorial, so here it is..... finally....:)


Bejeweled Tights
Tutorial


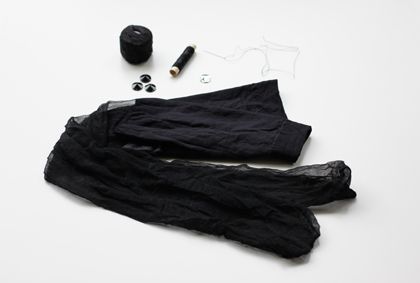
What you will need;

black sheer tights

needle + thread
scissors

swarovski stones, black and clear


Wear the tights, as it will be easier to work with.

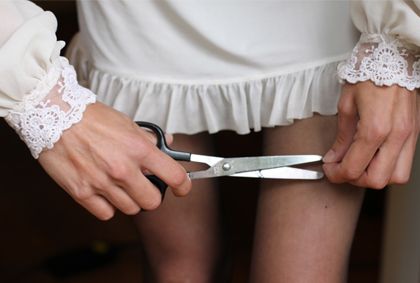
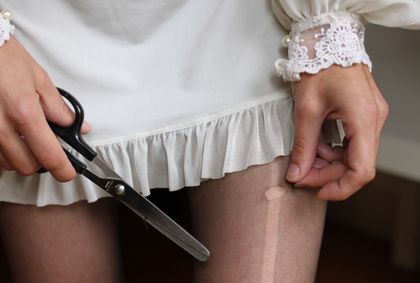
Start with cutting a tiny hole in the tights, in the middle of front as high as you want the shredding to begin.


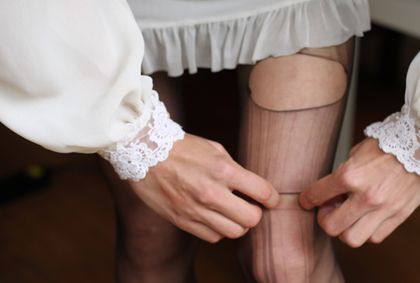
After you cut the hole, with careful pulling the tights will start running,


Pull the holes out horizontal, making large and wide gabs,


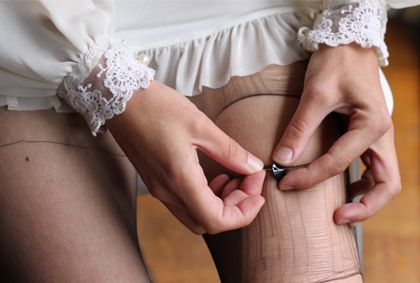
Around the wide gabs you can now start sewing on the swarovski's, placing them in clusters around the gabs, make sure you really attach them thoroughly, you can continue to sew on the swarovski's until you run out of money to buy the lil' bastards :)


E Voila :) you can now treat yourself quilt free to a cigarette, a candybar and new shoes, you deserve it :)

Tuesday, 11 August 2009

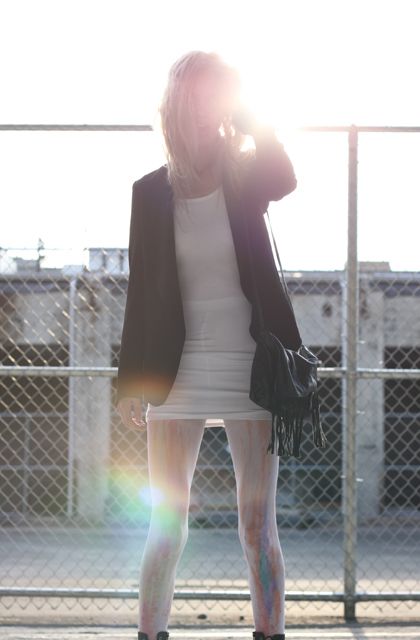
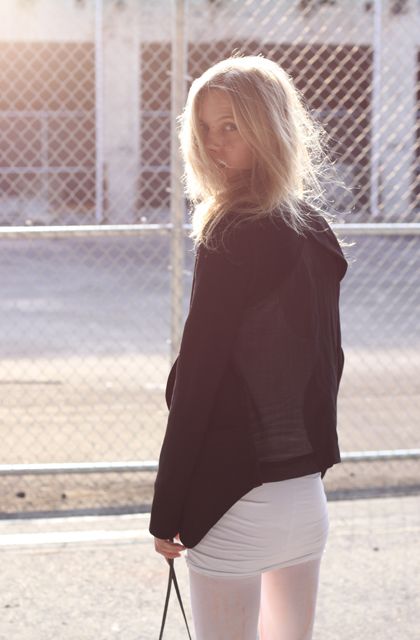
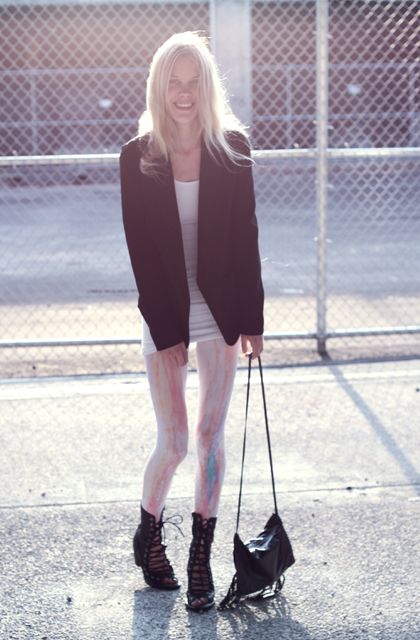
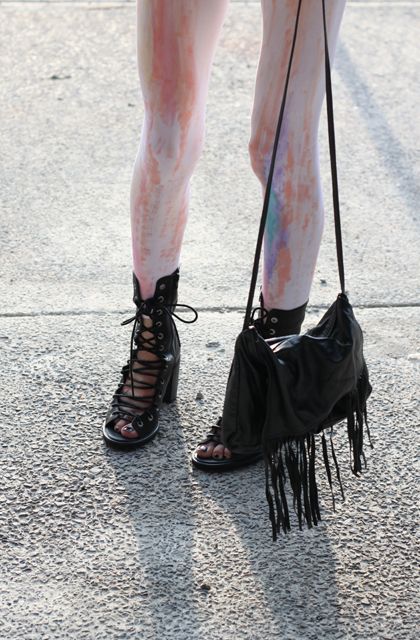
DIY watercolor leggings


So this is what I have been doing last night, haha... stayed up way to late though...
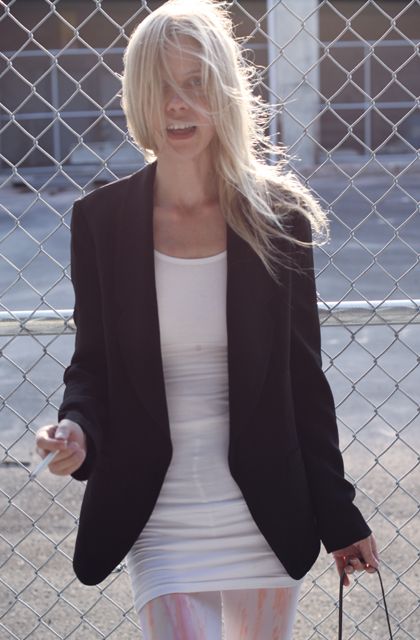
I got so inspired by Acne's ss2010 lookbook that I couldn't resist,
I'm all into watercolor prints right now ;)

Friday, 1 May 2009

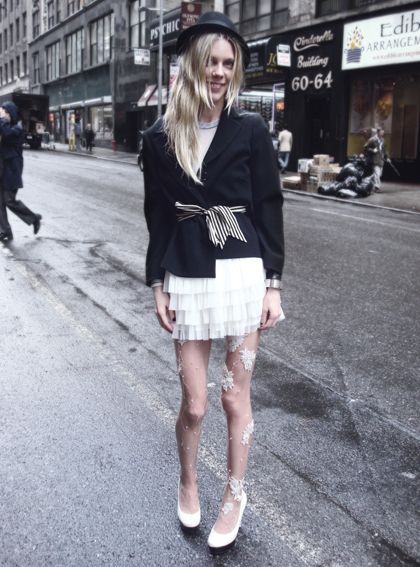
DIY embellished tights Give Away :)


As promised I will give away a pair of diy embellished tights :) I wish I could do it all the time but I'm afraid I can only afford it once a while.. I'm thinking about opening an Etsy shop though :)

Here is the deal; Comment 150 will get the tights:) you can leave up to three comments per person.. No need to say that hate-harassment-negative comments don't join in :) make sure that I can get in touch with you when your the proud winner :)


I have comment modification.. so you guys wont see how much comments there are lol :)

xoxo

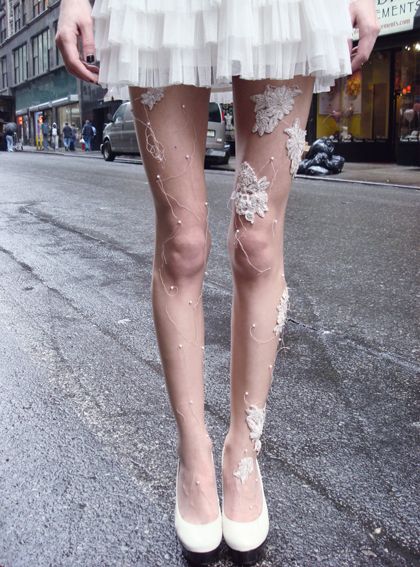
DIY Embellished Tights Tutorial

After Many requests, here it is :)


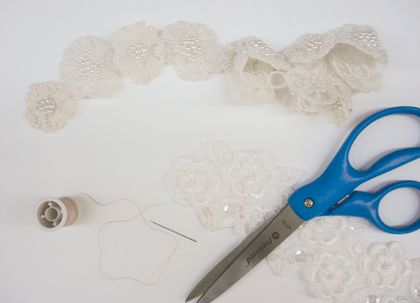
What you need:

Plain sheer Tights, I used the Duane Read “Silken Mist” from Leggs, they consist of 87 percent nylon and 13 percent spandex. It is a cheap synthetic blend that doesn't run as fast.

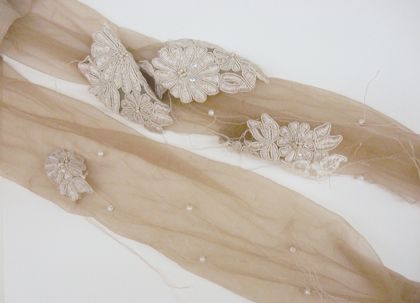
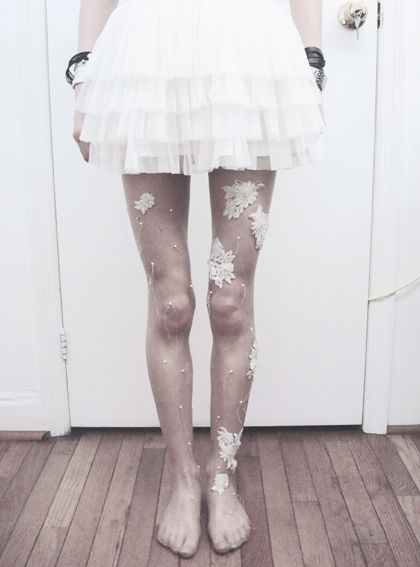
Trims; I got lucky looking at bridal trims. You should make sure to check the back of the trim to see if there is any stitching which is holding the trim together. Otherwise if you cut randomly you may loose beading or embellishments.

Small detail embellishments like Sequins, pearls, etc

Regular yarn, needles and scissors of course :)


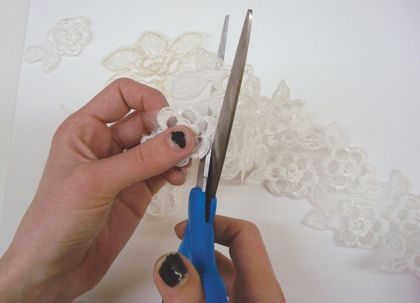
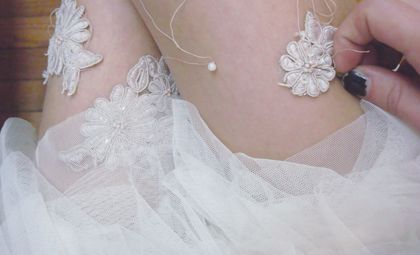
Start cutting out the shapes of flowers and Patterns from the trims and laces, try to be different in how you cut out the patterns and the sizes so it doesn’t look too symmetrical.


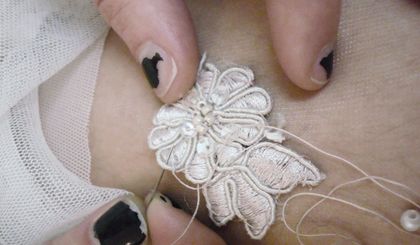
It is best to wear the tights when you are stitching so you can see the exact positioning and make sure the applicants will be neatly attached.


Start by stitching on the bigger patterns; holding it down with one hand while stitching around the pattern, I love the loose threads but you can cut it off as you please, when the biggest embellishments are set its easy to fine tune with finer details like sequins and tiny pearls:) Try mixing and layering different patterns together for a richer feel of design :)


and Voila :)


Follow cocorosa