Showing posts with label hair tutorials. Show all posts

Saturday, 15 December 2012

Favorite Holiday Tutorials

Photobucket
photos by Running on Happiness, the Beauty Department, ShannonPix fine art photo (great last minute presents!) and the sweetest occasion

With the Holiday's around the corner I thought it would be a great time to share my all time favorite Holiday Tutorials going from my favorite Holiday hair-do's to Gift Wrapping (I just love gift wrapping) and even one tutorial that would make that perfect very special gift!
Hope you have a lovely weekend!
xoxo

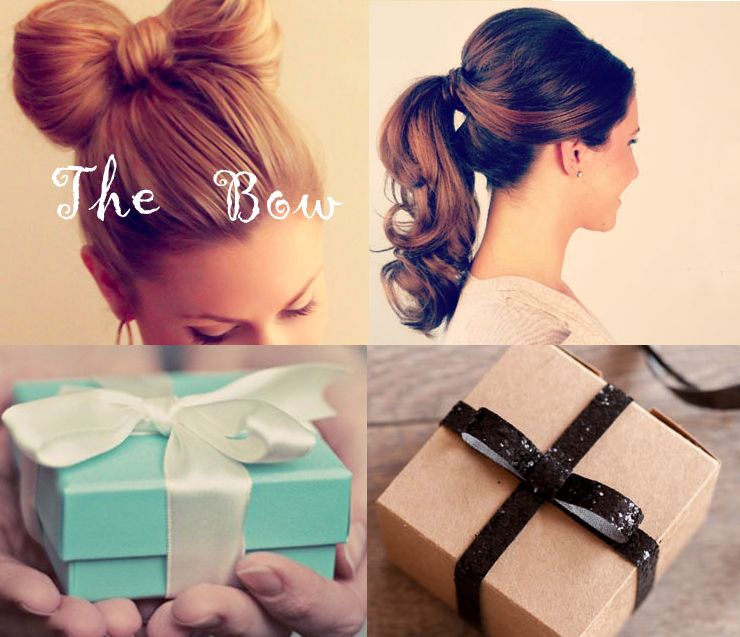
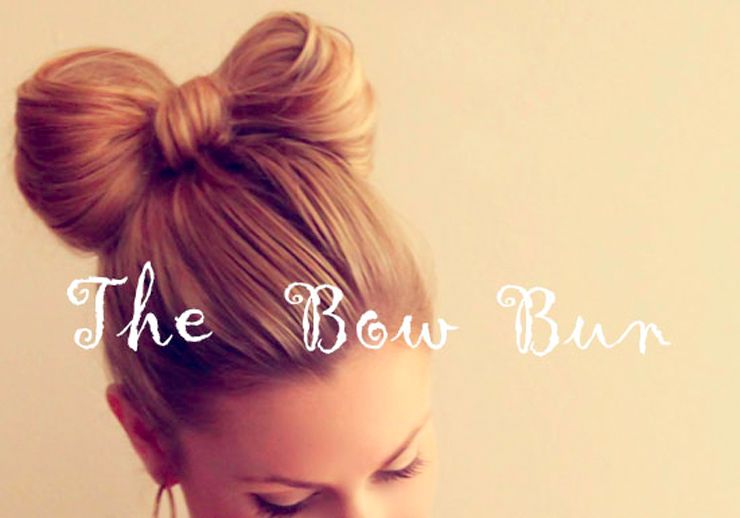
1) The Bow Bun

I cannot think of a better occasion then the Holiday's for this amazing Bow Bun! I love it and the Tutorial is amazing!


Photobucket


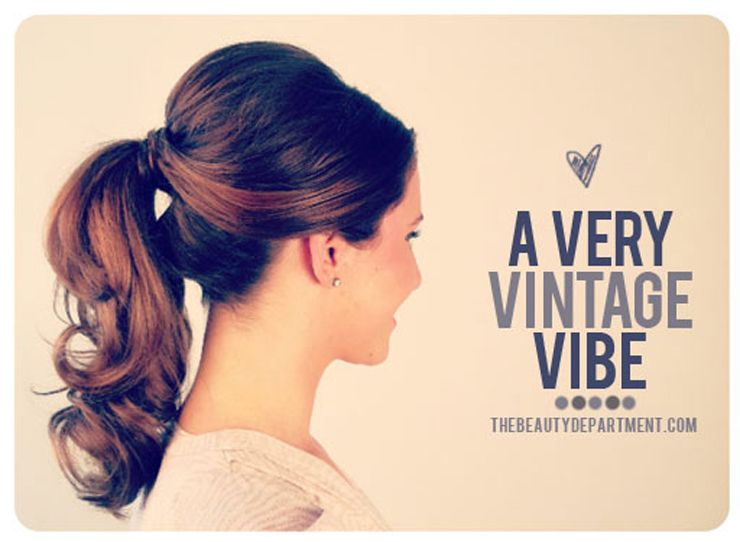
2) A very Vintage Vibe

The Beauty Department never fails when it comes to perfect hair tutorials and this is one of my Holiday favorites! The 1950's inspired ponytail!

http://thebeautydepartment.com/2012/09/1950s-inspired-ponytail/
Photobucket


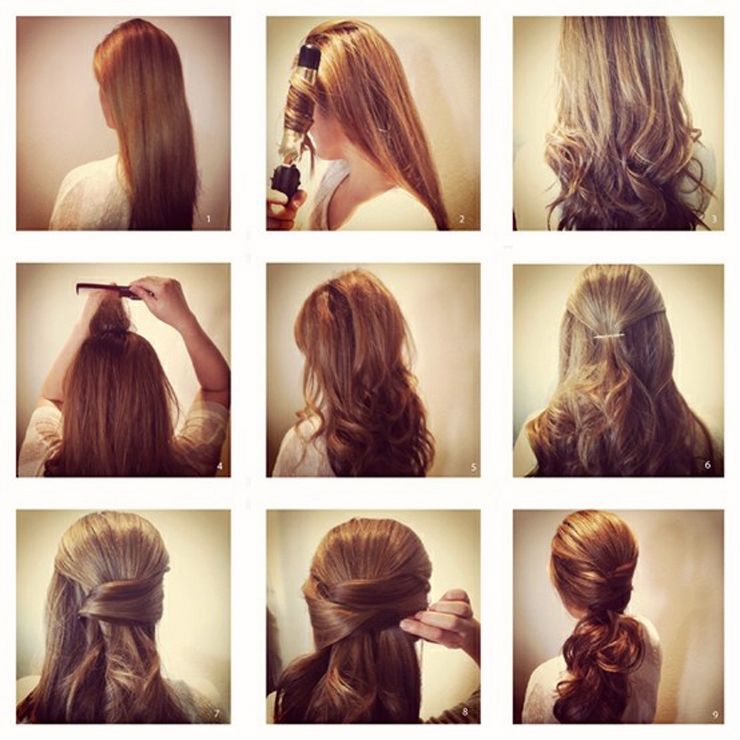
3) Lush Low Ponytail

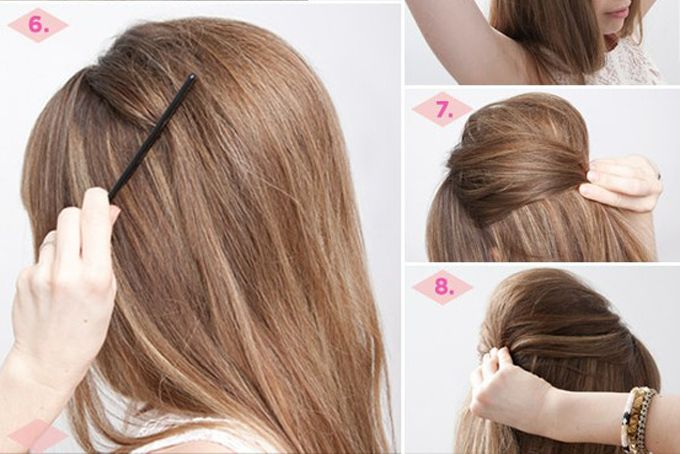
This is such a beautiful and classic hair-do for the Holidays! I really would like to know the original credits since I doubt the source where I found it and I would really like to know how to do these last few steps in the tutorial!

http://fashionworship.com/2069/
Photobucket


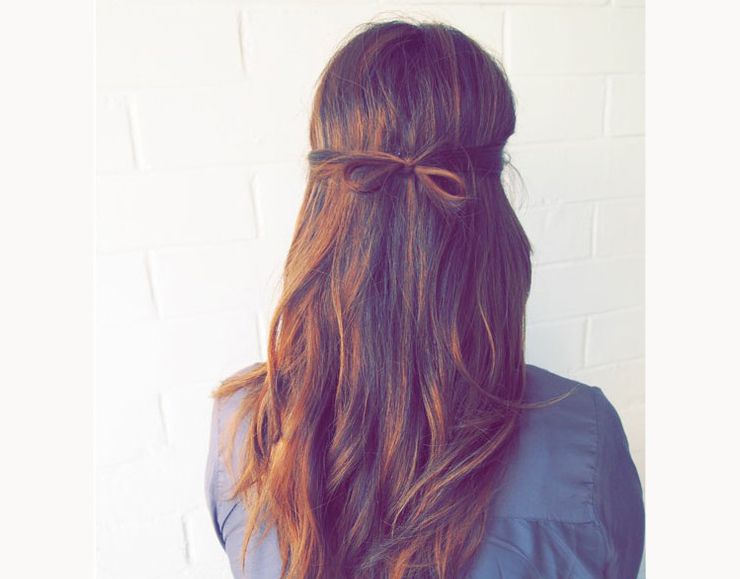
4) Tiny Bow

The Bow Bun a bit too much Bow for you? I really love the tiny detail of this simple bow from We see Rainbows! It's just delicious!


Photobucket


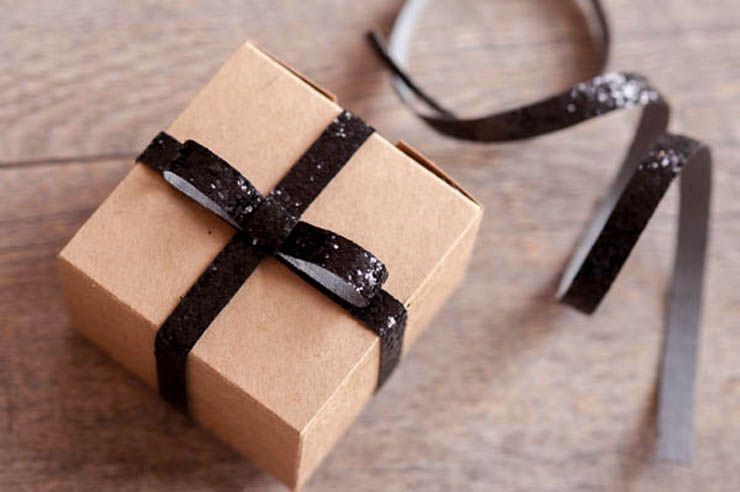
5) Sparkly DIY Giftwrap

The Sweetest Occasion comes with an amazing Sparkly Ribbon DIY! I have to say that when it comes to gift wrapping this website has really a lot of amazing tutorials and they are really all worth checking out!! 


Photobucket


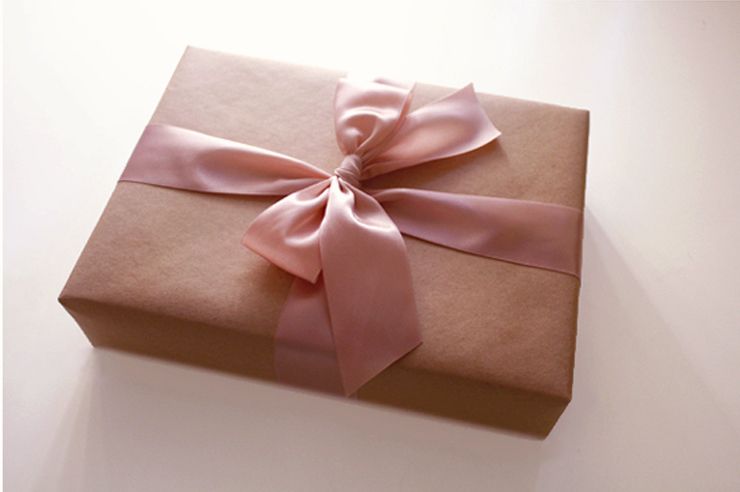
6) How to make a Perfect Bow

Maybe you are already blessed with perfect bow making skills but I am most definitely not! Flights of Fancy's Bow gift wrapping tutorial is simple but ohhhhh so perfect!!


Photobucket


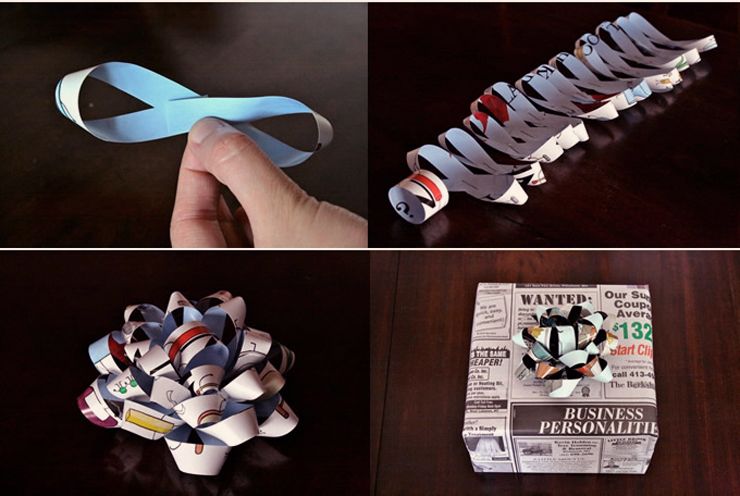
7) DIY Paper Bows

Milomade has this amazing tutorial on how to make your own paper bows out of magazine-and-recycled paper!


Photobucket


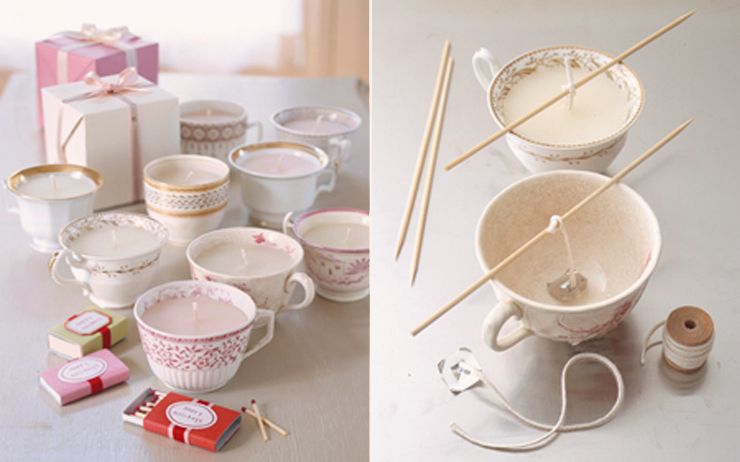
8) DIY Teacup Candles

And last but not least for that perfect little gift; Martha Stewart's DIY Teacup Lights!

http://www.marthastewart.com/273016/teacup-lights

Photobucket

FOLLOW COCOROSA ON BLOGLOVIN' FACEBOOK AND TWITTER

Wednesday, 21 November 2012

My Big Beautiful Curly Hair Tutorial

Photobucket

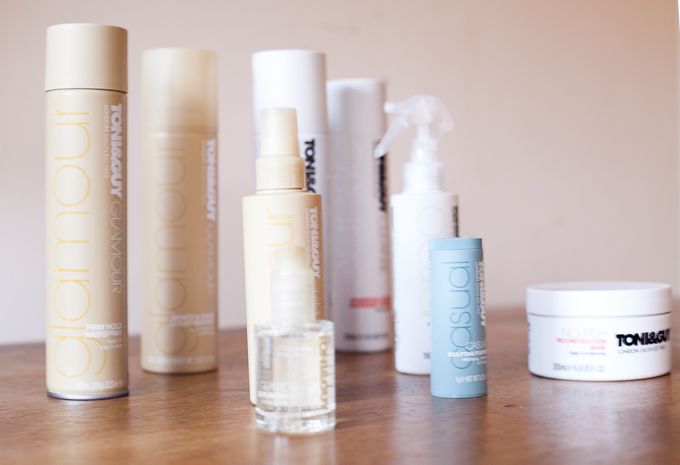
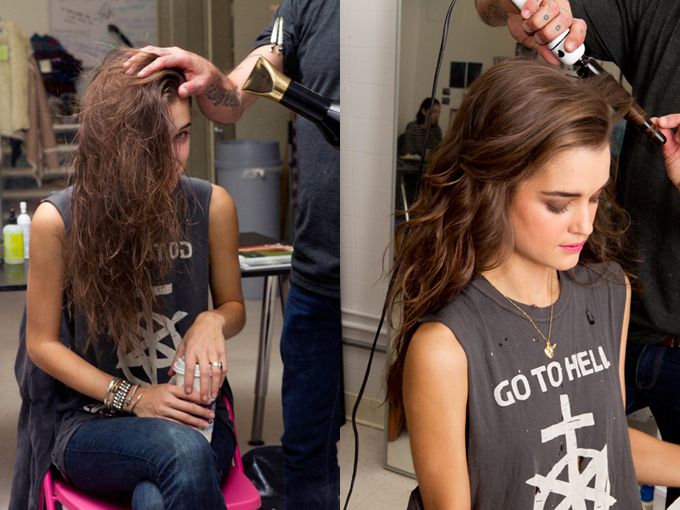
So Many have asked me for a Hair Tutorial of my Big Curls so here I go! The team behind Toni&Guy have send me an arsenal of new products to fine tune my look even more (meaning more volume and a healthier Shine without a hair-sprayed look)

What you absolutely need for this Tutorial: Mouse, Toni&Guy Sculpting Powder, Curl Iron, Hair Spray, All other Products are a big plus to fight frizz and give you that Glamorous Shine!

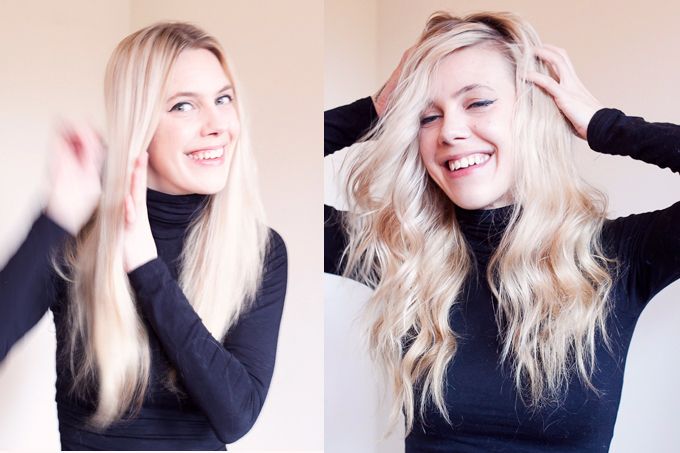
Photobucket
before and after


1) Prep Your Hair


First things first, the best way to start a good-do is to really prep your hair.
I started by washing my hair with Toni&Guy Shampoo for Damaged Hair and using the Toni&Guy Reconstruction Mask for overall well taken care off Hair!

Very important: On damp towel-dried hair I used the Spritz&Shine liquid Mouse, work in a small amount from root to tip, after I blow dried my hair. The Mouse gives my hair the perfect body and shine to start with! Plus it really helps with the curls!

Last but not least I applied a few drops of Toni&Guy Shine&Anti-Frizz serum drops to the mid-lengths and ends of my Hair and the Toni&Guy Moisturising Shine Spray for a last polish.


Photobucket
All my Toni&Guy goodies!


2) Sculpting / Volume Powder

My absolute favorite Hair product in the world! I have been writing about it before and absolutely key to this tutorial since I'm really against teasing my hair!

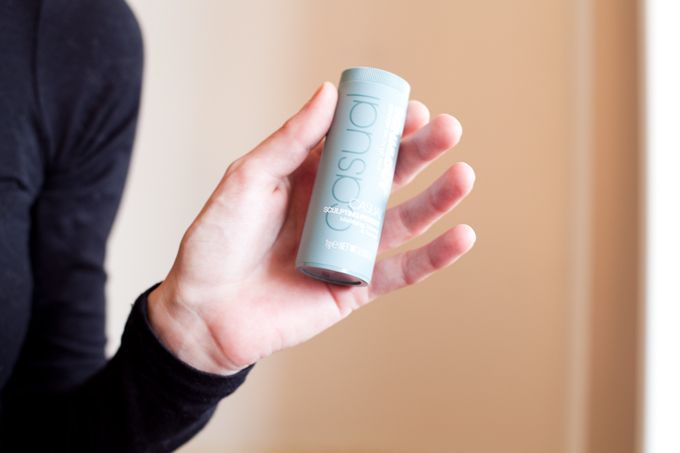
Toni&Guy Sculpting Powder comes in a small blue tube and combats grease and creates Volume and Shape! I dust the powder directly at the roots and work it through with my fingers (I kind of massage the dusted root area so to speak)

Photobucket


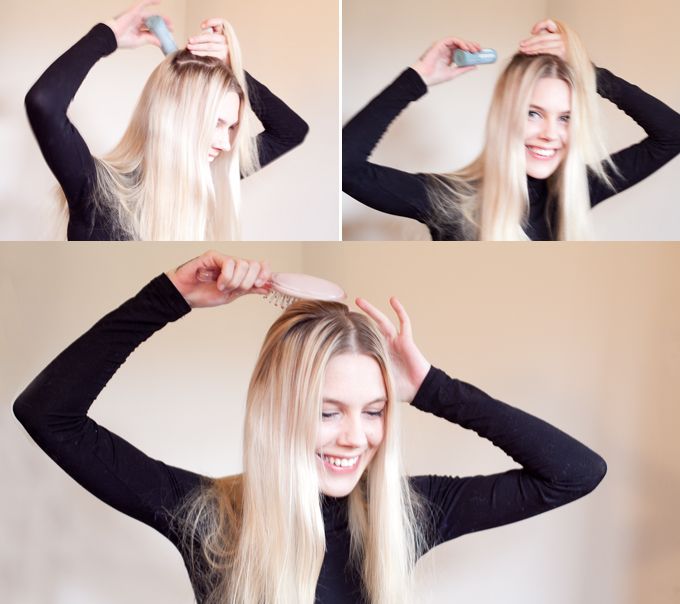
I first part my hair in a crown section and 2 front sections. (think a Bouffant or Brigitte Bardot)
Instead of teasing the hair at the crown as done in a Bouffant I use the Sculpting Powder to dust a layer at the roots (work in a horizontal strip!) then I part the hair half way (between the Crown and to where I hold the hair) and dust another strip! I also dust at the foremost section of where my "bouffant" starts! Last I gently flip my hair back using a brush or fingers. 

(Seriously, don't worry about messing this part up! Just think "Brigitte Bardot" and apply the powder at the roots where you would otherwise tease your hair!)

Photobucket


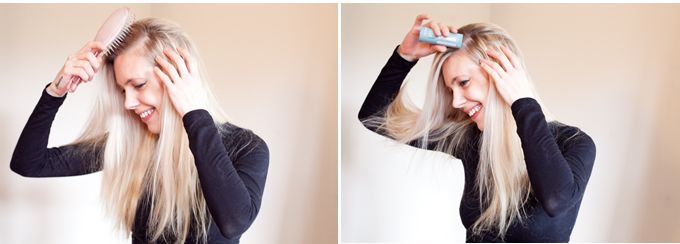
I now start to dust the front left and right parts/sections of my hair with the Sculpting Powder!
I first dust the roots in the middle section (work vertical, from the front to the back) and then I dust the roots in 2 (or 3) sections on either side! I part my hair with my fingers or using a comb or brush, don't worry about making neat side-sections, I do it very sloppy myself!

(Again! Seriously, don't worry about messing this part up! Just think "Brigitte Bardot" and apply the powder at the roots where you would otherwise tease your hair!)

Photobucket


Now the Fun Part! gently Scruntch/ Massage the roots of your hair where you applied the powder, you should get a full blown Brigitte Bardot look! Without Teasing!

See, Brigitte Bardot ;)
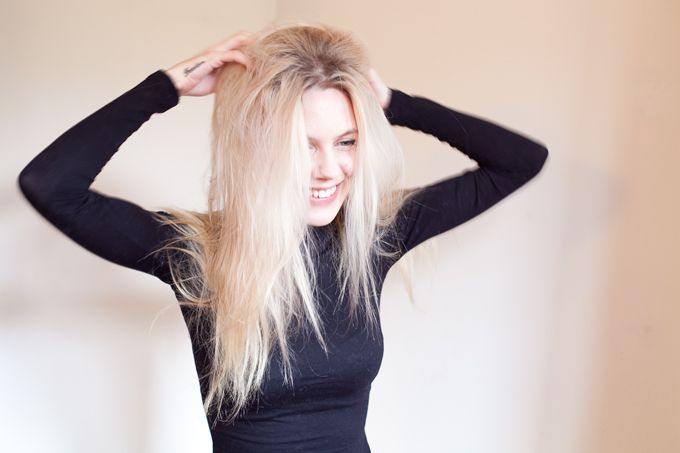

Photobucket


3) Curl your Hair


Gently brush or comb your hair but don't comb or brush your roots through (where you dusted the Sculpting Powder) also don't worry about the volume, you will scrunch it back later! 

Pin the front sections of your hair to the side or up since we are going to curl them last, also before curling prep your hair with a heat protector! I used the Toni&Guy Heat Protection Mist!
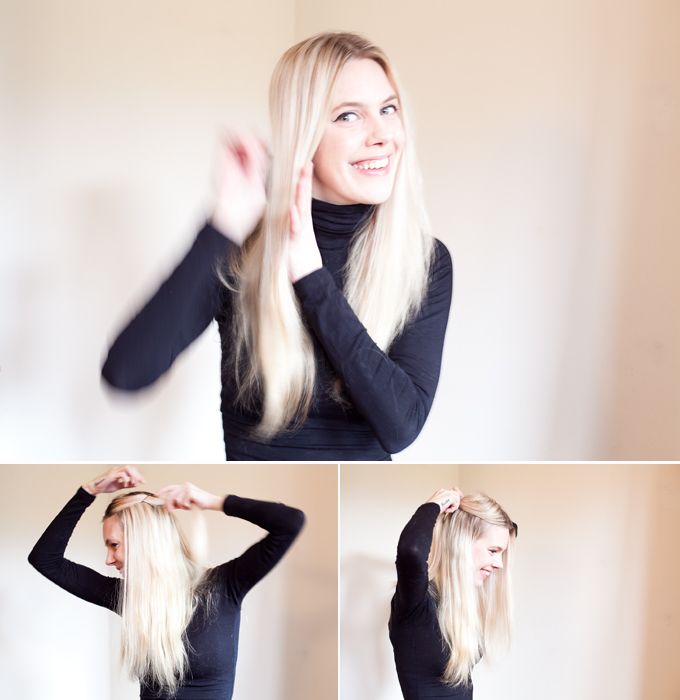
Photobucket


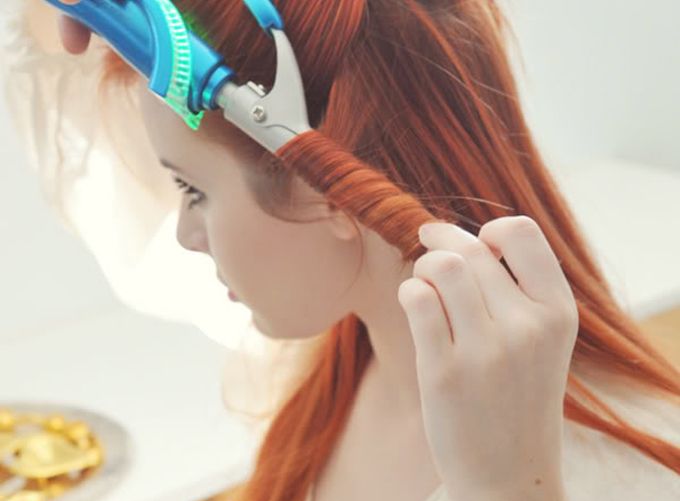
Start curling, it doesn't matter if you start curling on the right or left side of your hair as long as curl going outward! (see close-up pic) I also keep my tips/ hair ends outside of the clamp, I don't curl them since the hair ends would damage quickly because of the heat!
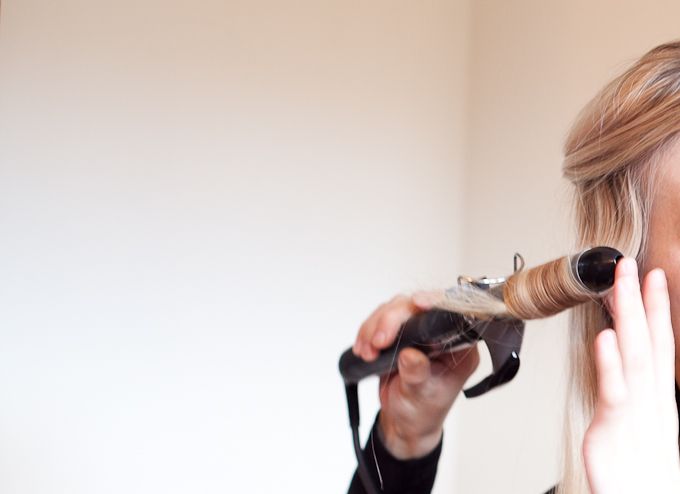
Photobucket

After curling the locks you can use Hair Spray on each individual lock or Spray the locks all together as you please! But you have to use Hair Spray to set the curls! I used Toni&Guy Firm Hold Hairspray. 

Now we start to curl the front locks that were pinned to the sides, after curling these I spray all the locks again!

Photobucket


4) Brush-Out the Curls


Let the hair spray set just a little bit, make sure it's dry.
We will now start Brushing out the curls! After Brushing I use Hair Spray in between and on the curls while I hold my hair up, this gives me loads of volume! Kind of setting the big fly-away fluffed up Curls!
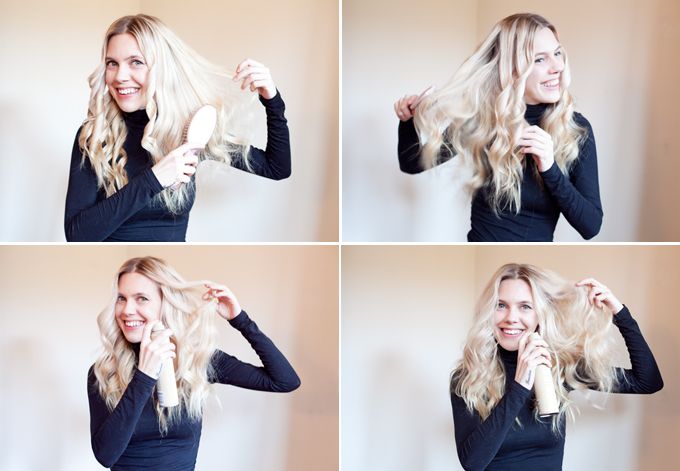

Photobucket


5) The Side-Bang and Finishing Touch


I guess you could have made the side part before but I kind of like doing it last since I want to get it perfect while having that spontaneous fly-away feel!
I basically just flip a random side part over the either left or right side (whatever looks best on your face), this way I can really control how these locks will fall plus if really necessary I curl the side-lock-bang again (totally cheating, I know) When the side bang looks the way I like I use Hair Spray to set it although I don't really spray at my roots to keep that soft natural look and feel!


I massage the hair roots again for our Brigitte Bardot volume and use very very sparingly the Moisturising Shine Spray to areas where the fluffed up curls turned matte and scrunch them up again. 

I never ever use the Shine (Gloss) Spray near the top/roots since the Shine/Gloss tends to weigh down your hair! After glossing I use hair spray again!
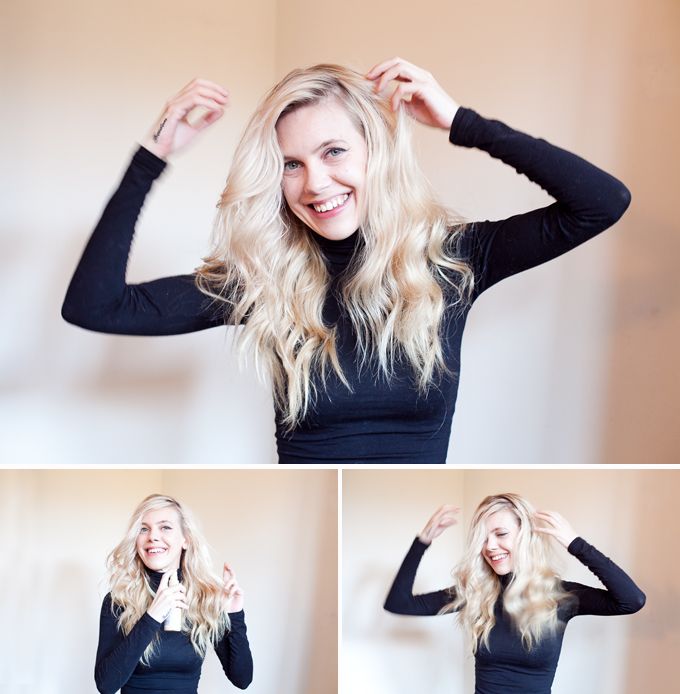
Photobucket


6) Finito!


Et Voila! 
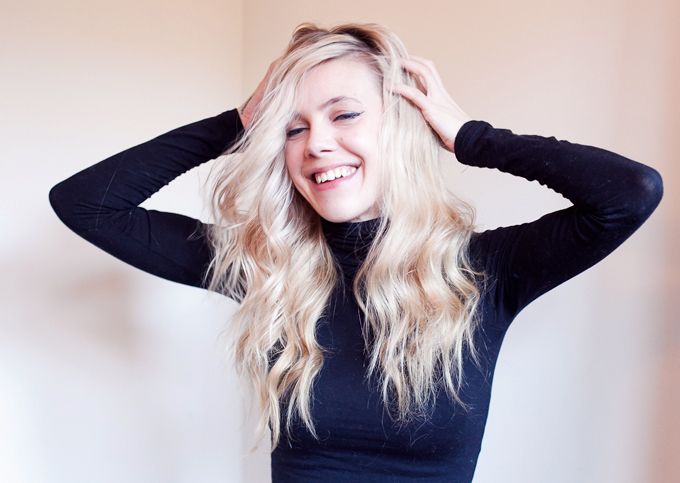
Big Beautiful healthy looking hair with volume at the roots! You can scruntch/massage the roots of your hair during the day to re-vamp that volume!

You can find out more about all the Toni&Guy products here!

Photobucket

FOLLOW COCOROSA ON BLOGLOVIN' FACEBOOK AND TWITTER
Saturday, 3 November 2012

Big Beautiful Hair Tutorials

Photobucket
(photos via pinterest)

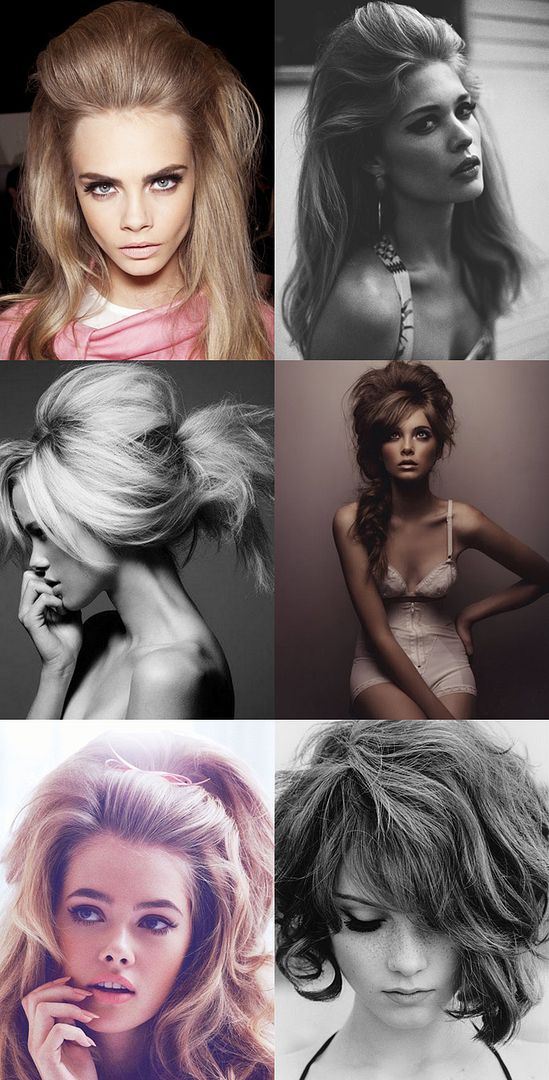
I love big beautiful hair, whether it be in a lush 60s bouffant, a teased updo or with big curls! For a lot of us a full gorgeous locks don't come natural and for those who are blessed with thick hair it might be hard to keep the locks from weighing down and create some controlled chaos ;) So behold my favorite tutorials for big beaut Hair including the 2 tutorials I have been using for creating new voluminous waves myself! 


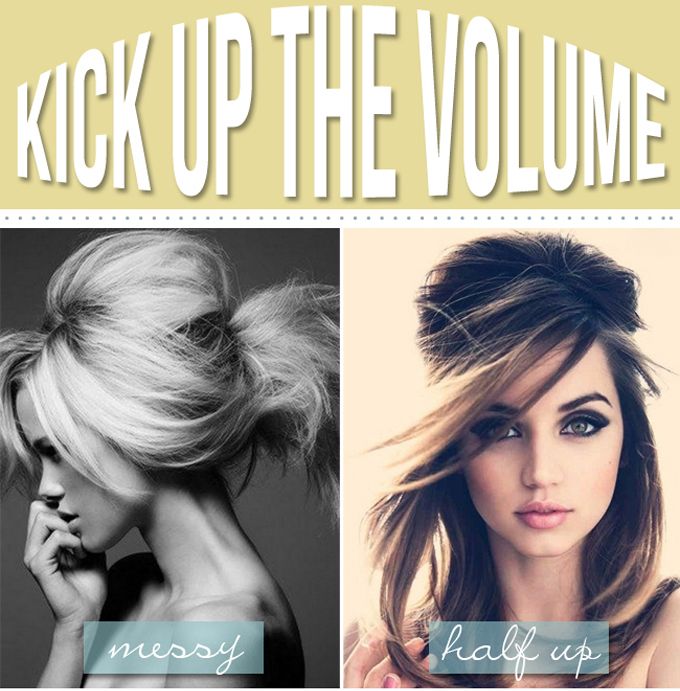
1) The Daily Desh ~ Hair Volume

I actually start off with a tutorial (and a lovely blog post) that isn't necessarily for me since I have naturally very fine and thin hair. This tutorial is for those with thick hair and want to create some order in the chaos! I do really love the result, it's kind of how I look after going to my hair stylist, who creates this look on my hair simply with some products and a blowdryer but I never managed to get the look right myself! (one day I will haha)

http://www.shopdesh.com/blog/beauty-report-hair-volume/

Photobucket


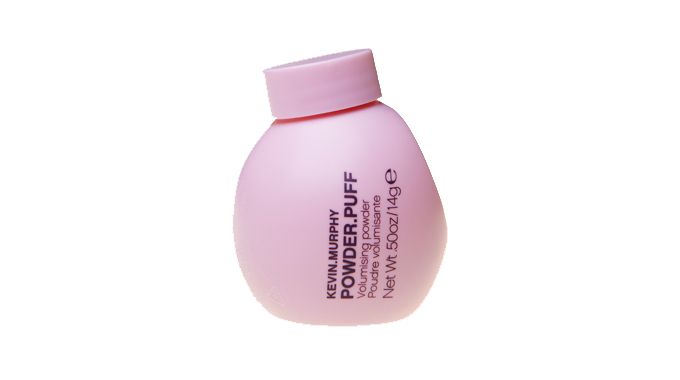
2) Kevin Murphy ~ Powder Puff

Here is where the Magic starts! I use the Kevin Murphy Powder Puff myself and I seriously love it, can't live without it! When using the powder on my roots (and after scrunching it up) there is volume! Like real volume, magic! Sometimes I do set the created volume with some hairspray and other days I just fluff it up a few times during the day! I discovered that by using the powder on more sections at the roots it created far more volume and with my fine hair I managed to be very close at a beaut big 60s hair at my very first try, wooha! I also use the powder before setting curls!

http://www.kevinmurphy.com.au/

ps. Other powders are the Osis Dust it, Lanza Powder up and Big Sexy Hair Powder Play!

Photobucket

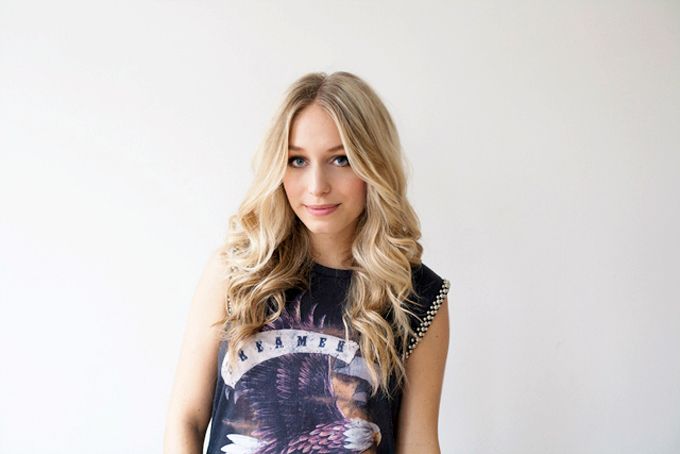
3) This Chicks Got Style ~ Bouncy Curls


For all those that asked me about my hair, It was Yara from thischicksgotstyle who started styling my hair in New York and was patient enough to teach me how to do it myself! I'm so happy she made this tutorial because I can honestly say (working with this myself) that its really good and dummy proof ;) In the end it so happens that I hadn't been paying enough of attention and haven't done my hair how I was supposed to be doing it haha but close enough ;) (I personally make a side section and use the powder puff instead of teasing!) Besides curls (obviously) this tutorial creates big voluminous hair for those like me with fine thin hair! Oh, and did I tell you that the curls really stay in place the whole day? Yes, they do!

http://thischicksgotstyle.blogspot.nl/2012/11/my-easy-soft-bouncy-curl-tutorial.html

Photobucket


4) Nasty Gal ~ Big Messy Waves

I think the easiest way to go for some volume are big "bedhead" messy waves! Personally I'm really hesitant to use spray wax but I am all about crunching my hair by making buns and then fixing them with hairspray! This tutorial might be the easiest to start off with but didn't created the magic effect I was looking for myself.

http://blog.nastygal.com/style-o-rama/lessons-from-the-pros/2012/04/big-messy-waves/#more-12186

Photobucket


5) Modcloth Blog ~ Bouffant Hair

The Bouffant is big on my wish list and this is the tutorial I will use to try it myself, although I haven't thick hair! (I will start off with creating volume ~ and maybe some bedhead waves, with the Powder Puff and curl iron myself!) Basically for Big hair it's all about teasing your hair, maybe using sea salt spray and loads of hairspray but to be honest I always try to avoid these three at all costs myself and opt instead in on the powders, blow dryer and curl iron, oh I do use loads of hairspray actually but I use an equal amount of conditioner afterwards ;)

http://blog.modcloth.com/2012/02/03/in-the-thick-of-it-3-fancy-hairstyles-for-thick-haired-ladies/

plus another beautiful bouffant tutorial:


Photobucket


FOLLOW COCOROSA ON BLOGLOVIN' FACEBOOK AND TWITTER 
Saturday, 27 October 2012

Favorite Hair Tutorials

Photobucket
photo by the Beauty Department

I love spending time on my Hair, not that I'm particularly good at it but having some~weekend messing~with~my~hair~quality~time is always something I look forward too! So hence this post with some of my all time favorite tutorials!


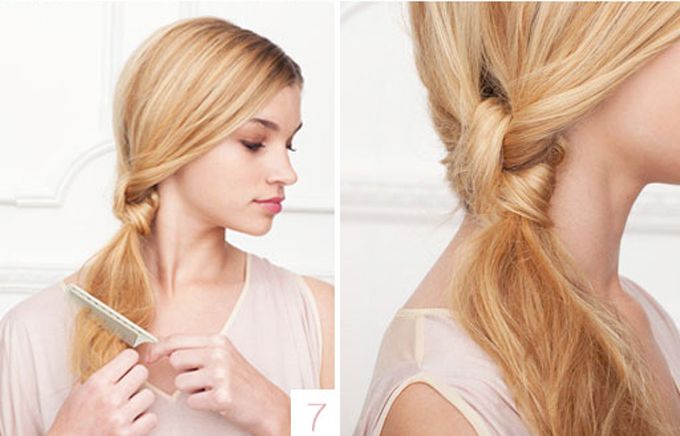
1) the Beauty Department ~ Knotted Ponytail

One of my favorite tutorials online is the knotted Ponytail by the Beauty Department.  I just love the simplicity of the knot in a very low ponytail and the tutorial is easy to understand and work with! I just love wearing low messy ponytails with oversized sweaters and the knot will give any easy look just that little bit of extra!

http://thebeautydepartment.com/2011/04/a-do-for-you/
Photobucket


2) Angelica Blick ~ Everyday Hair


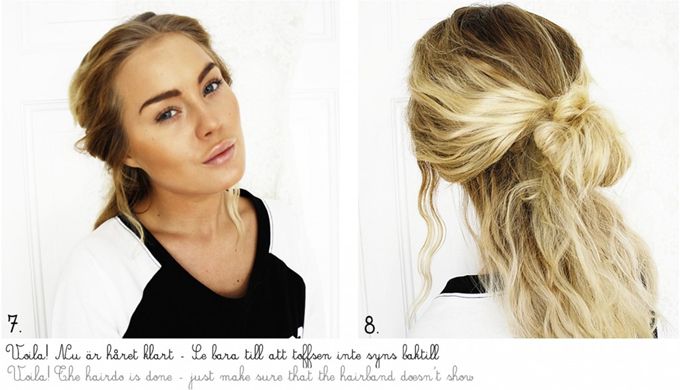
Angelica's messy Up-Do is a total fall/winter must and really a perfect effortlessly look for everyday and perfect for people with fine, thin and straight hair who would like to boost some volume!

http://nyheter24.se/modette/angelicablick/2012/10/05/how-to-the-hair/

Photobucket


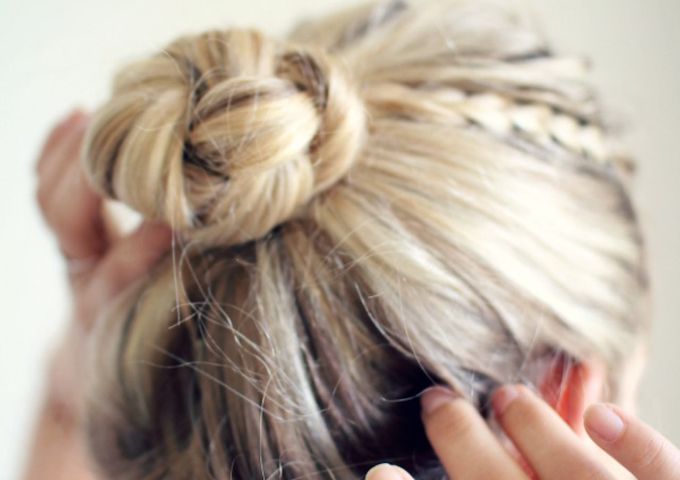
3) This Chicks Got Style ~ Braided Bun

Yara's braided bun is a nice way to give an updo something extra, really, it's a perfect combination of two; braids and buns! Win-Win!

http://thischicksgotstyle.blogspot.nl/2012/08/beauty-how-to-braided-bun-tutorial.html 
Photobucket


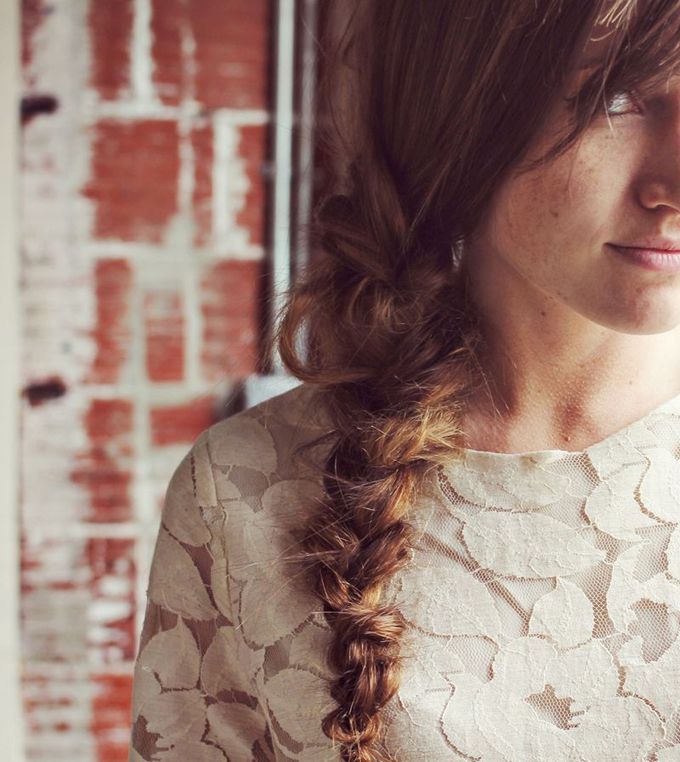
4) A Beautiful Mess ~ Messy Braid

The messy braid is so perfect in every way! I just really wished my hair was any longer so I could sport the braid exactly like the picture!

http://www.abeautifulmess.com/2012/06/how-to-style-a-messy-braid.html
Photobucket


5) Top 10 Fashion Bloggers Hairdo's

A bigger collection of Hair Styles and Tutorials is in the Top 10 Fashion Bloggers Hairdo's. I was so tempted to re-blog almost the entire list in this post which would have been silly I guess so instead I figured it's better to post the link of the Top 10. I often use the list for inspiration and use some of the tutorials to help me with making the curly hair I have been sporting lately!

http://mypreciousconfessions.blogspot.nl/2011/11/top-10-fashion-blogger-hairdos.html
Photobucket
photo by seaofshoes

FOLLOW COCOROSA ON BLOGLOVIN' FACEBOOK AND TWITTER